

- Custom Variable Widget
- Priority Matrix
- Heatmap Widget
- Grid Widget
- Weighted mean widget
- Comment List widget
- Widget Filters
- Ranking List Widget
- Distribution Chart
- NPS Widget
- Trend Widget
- Word Cloud Widget
- Cross tab widget
- KPI Comparison Widget
- Bubble chart
- Custom Metric Trend Chart
- Trend Comparison Widget

Customer Experience Management
Customer experience management (CEM) is the process of designing, measuring, and improving the overall experience that customers have with a company, from their initial interactions through to ongoing support and service. This involves understanding and addressing the various touchpoints that customers have with a company, and taking steps to ensure that each interaction is as positive and seamless as possible. CEM involves gathering feedback from customers, analyzing that feedback to identify areas for improvement, and then implementing changes to enhance the customer experience. The goal of CEM is to build long-term loyalty and advocacy among customers by consistently delivering exceptional experiences that meet or exceed their expectations.
Company X is a software company that offers an online project management tool for businesses. They had received several complaints from customers about the lack of user-friendly features and poor customer support. As a result, they decided to implement a customer experience management strategy to improve the overall customer experience.
- Gathering Feedback: Company X started by collecting feedback from customers through various channels such as email surveys, social media, and customer support calls. They also analyzed customer data to identify patterns in customer behavior and pain points.
- Identifying Issues: Based on the feedback, Company X identified several issues that were affecting the customer experience, including the complexity of the software, the lack of user-friendly features, and poor customer support.
- Making Changes: Company X implemented several changes to improve the customer experience, including:
- Redesigning the user interface to make it more intuitive and user-friendly
- Adding new features to the software based on customer feedback
- Improving the customer support by offering faster response times and more personalized assistance
- Offering training and resources to help customers get the most out of the software
- Measuring Success: Company X measured the success of their customer experience management strategy by tracking key metrics such as customer satisfaction, customer retention, and referral rates. They found that customer satisfaction and retention rates improved significantly after the changes were implemented, and they received more positive feedback from customers. Overall, Company X's customer experience management strategy helped them to better understand their customers' needs and pain points, and to make changes that resulted in a more positive customer experience. This, in turn, helped to build long-term loyalty and advocacy among their customers.
In CX, there are 4 primary navigation menus, which consists of various sub-menus. The four primary navigation menus are:
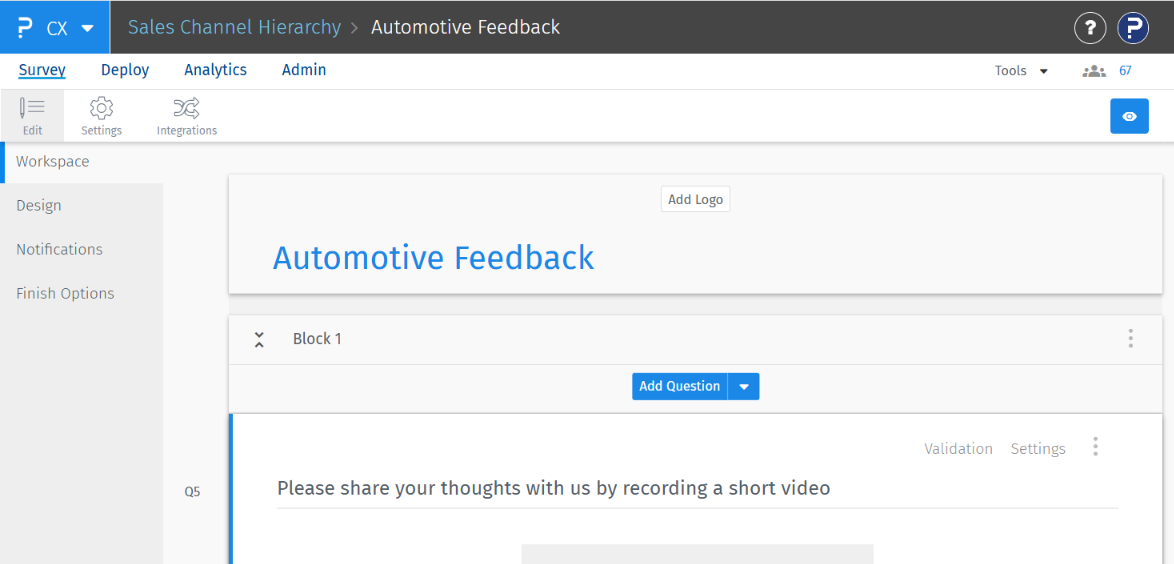
- Surveys: It displays the list of various types of surveys you have created in the feedback.
- Deploy: It consists of various options to deploy a survey to your customers.
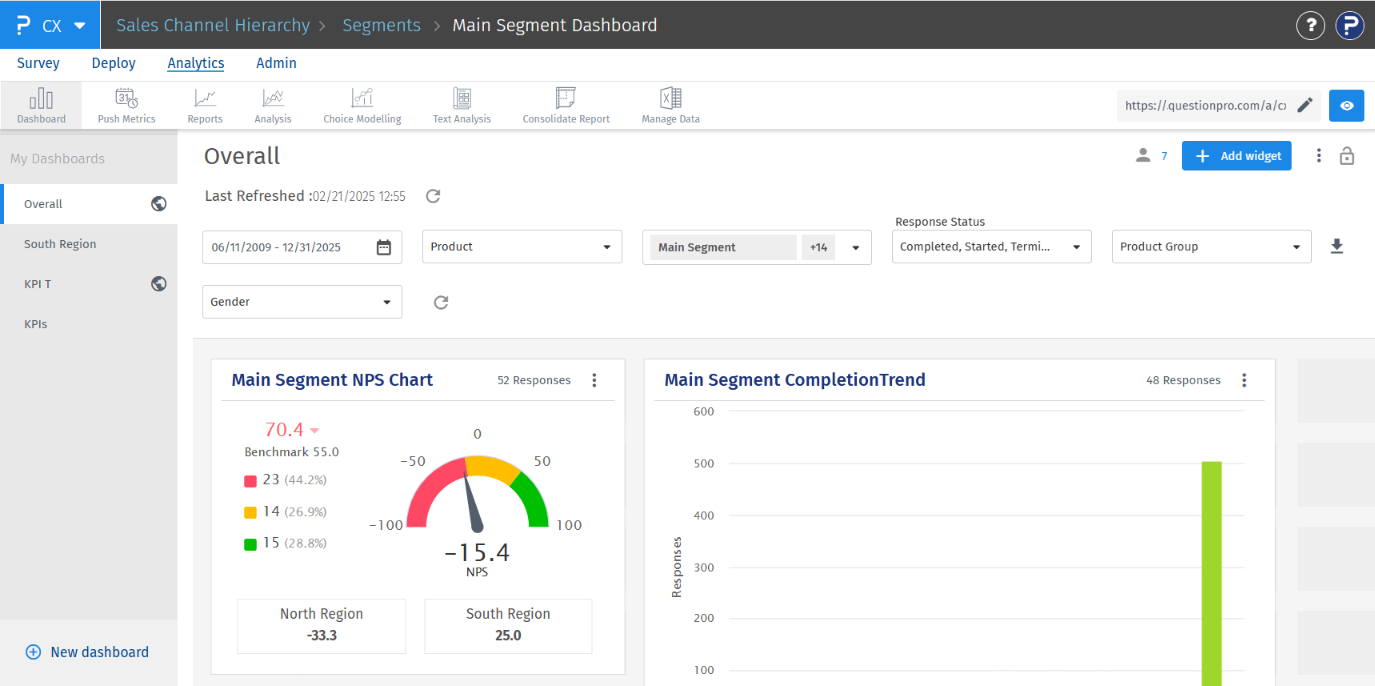
- Analytics: It takes you to view the CX dashboard, where you can add multiple widgets and analyse the data.
- Admin: This is an important menu item, which consists of various configurations that you need to do in your CX system.

Deploy: this menu item consists of following sub-menu:
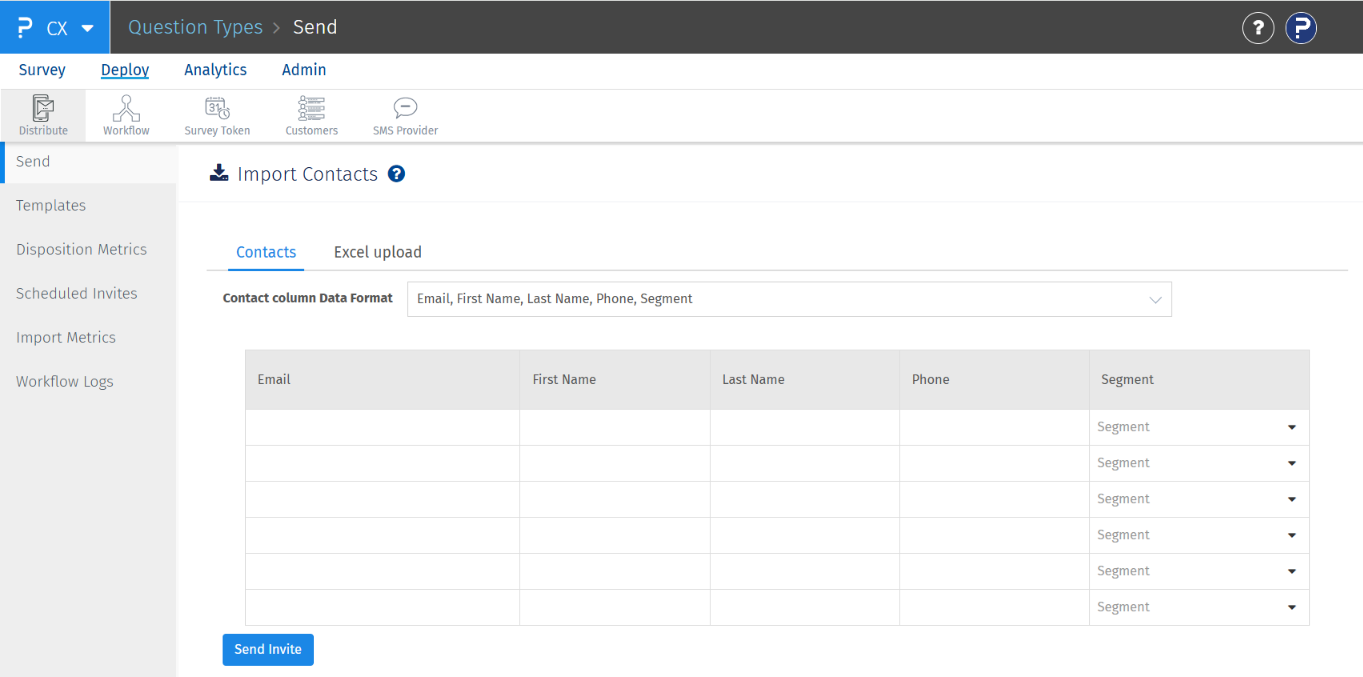
- Send: Deploy surveys via SMS, Email, or both by manually entering contact details or uploading them using an Excel file.
- Templates: Create and manage Email/SMS survey and reminder templates from this section.
- Disposition Metrics: View detailed analytics related to survey deployments, including delivery status, import method, deployment dates, and more.
- Scheduled Invites: Displays all upcoming scheduled invites that are yet to be sent within the workspace.
- Import Metrics: Provides batch-wise analysis of all transactions imported into the system.
- Workflow: Configure workflows for survey processes such as import, send, reminders, and exclusions.
- Survey Token: Generate survey tokens for different segments (e.g., stores) to enable customers to take surveys using handheld devices in-store. Each token provides a unique survey link.
- Customers: Displays a list of customers in your account, identified by unique email addresses or phone numbers.
Analytics: Clicking on Analytics takes you to the CX dashboard, where you can add widgets and analyze data related to your surveys and segments. This section also includes several other features such as Push Metrics, Reports, Analysis, Choice Modeling, Text Analysis, Consolidated Reports, and Manage Data.
Admin: There are several options under Admin menu. The list of which is as follows:
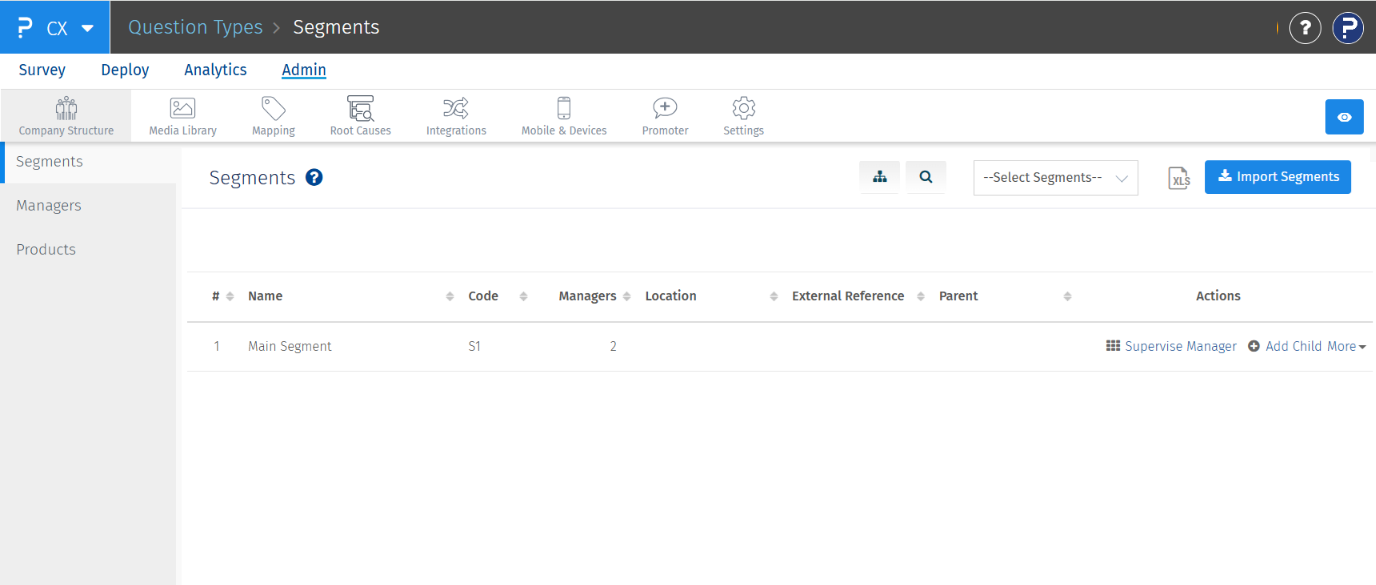
- Company Structure: Configure segments, managers, and products for your company. The list of products and product groups imported via the contact list is available on the Product page.
- Media Library: Upload files needed for your surveys—such as images, fonts, and other media—here.
- Mapping: Set up mappings for custom variables, product-specific variables, question mappings, import formats, and custom fields for segments.
- Root Causes: Define workspace-level root causes that are used across CX and other suite products.
- Integrations: Access FTP and API integration options to automate contact imports and survey deployments.
- Mobile and Devices: Options related to CXontheGo mobile app can be set using this options. Enable offline survey data collection by toggling 'Offline Surveys' ON. You can also set the access code for the CX Mobile app from this page.
- Promoter: Configure social sharing settings for platforms like Facebook, Twitter, Yelp, and TripAdvisor. Turn these ON to share positive survey responses automatically.
- Settings: Manage workspace-level portal settings from this section.