- Community Settings
- Survey Opt-Out for Members
- Security
- Facebook setup
- LinkedIn setup
- Google setup
- Twitch setup
- Social login
- Mobile app - privacy policy
- HMAC
- External passback
- Google Analytics
- Survey swipe
- Communities Authentication - SAML SSO
- Merge all Pending Surveys
- Regional Sign Ups
- User Roles and Permissions
- Data Sharing Options
- Login Authentication
- Global community member profile
- Profiling surveys
- Default surveys
- Global community profile - settings
- Hidden field
- Move profile fields
- Profile fields - survey integration
- Profile sync
- Confidence score
- Import Profile Data
- Profile Groups
- Default Surveys 2.0
- Profiling Surveys 2.0
- Member Profile Fields 2.0
Ways to Add Members to the Community
Go to: Community >> Members >> Member List
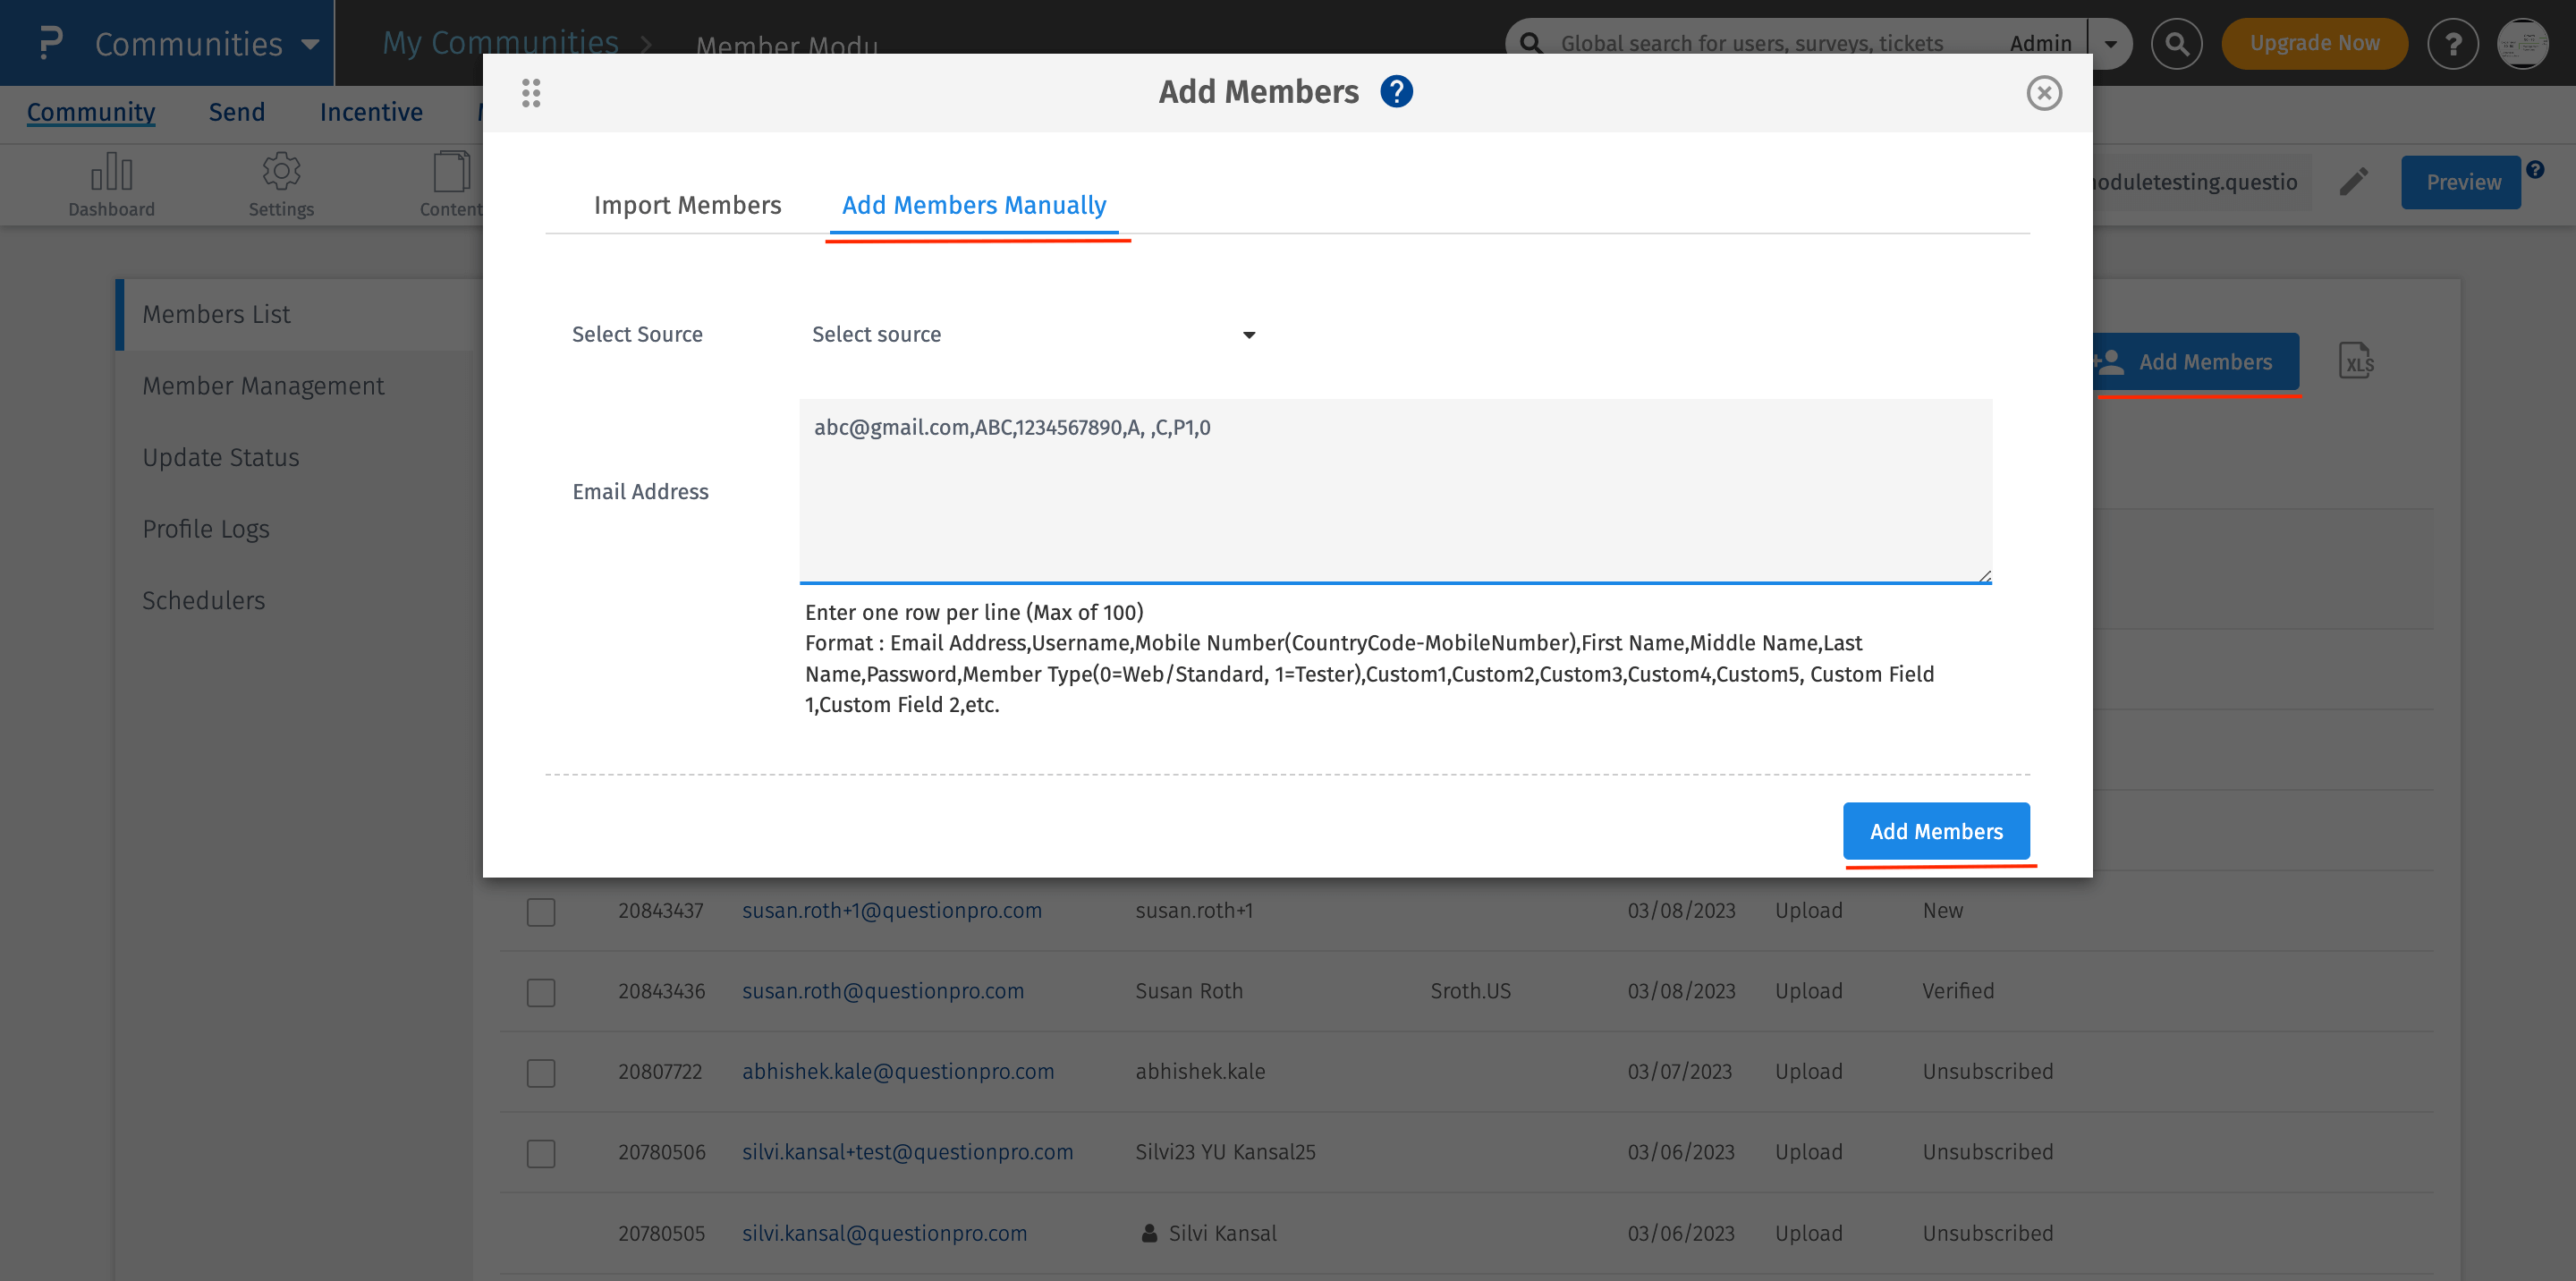
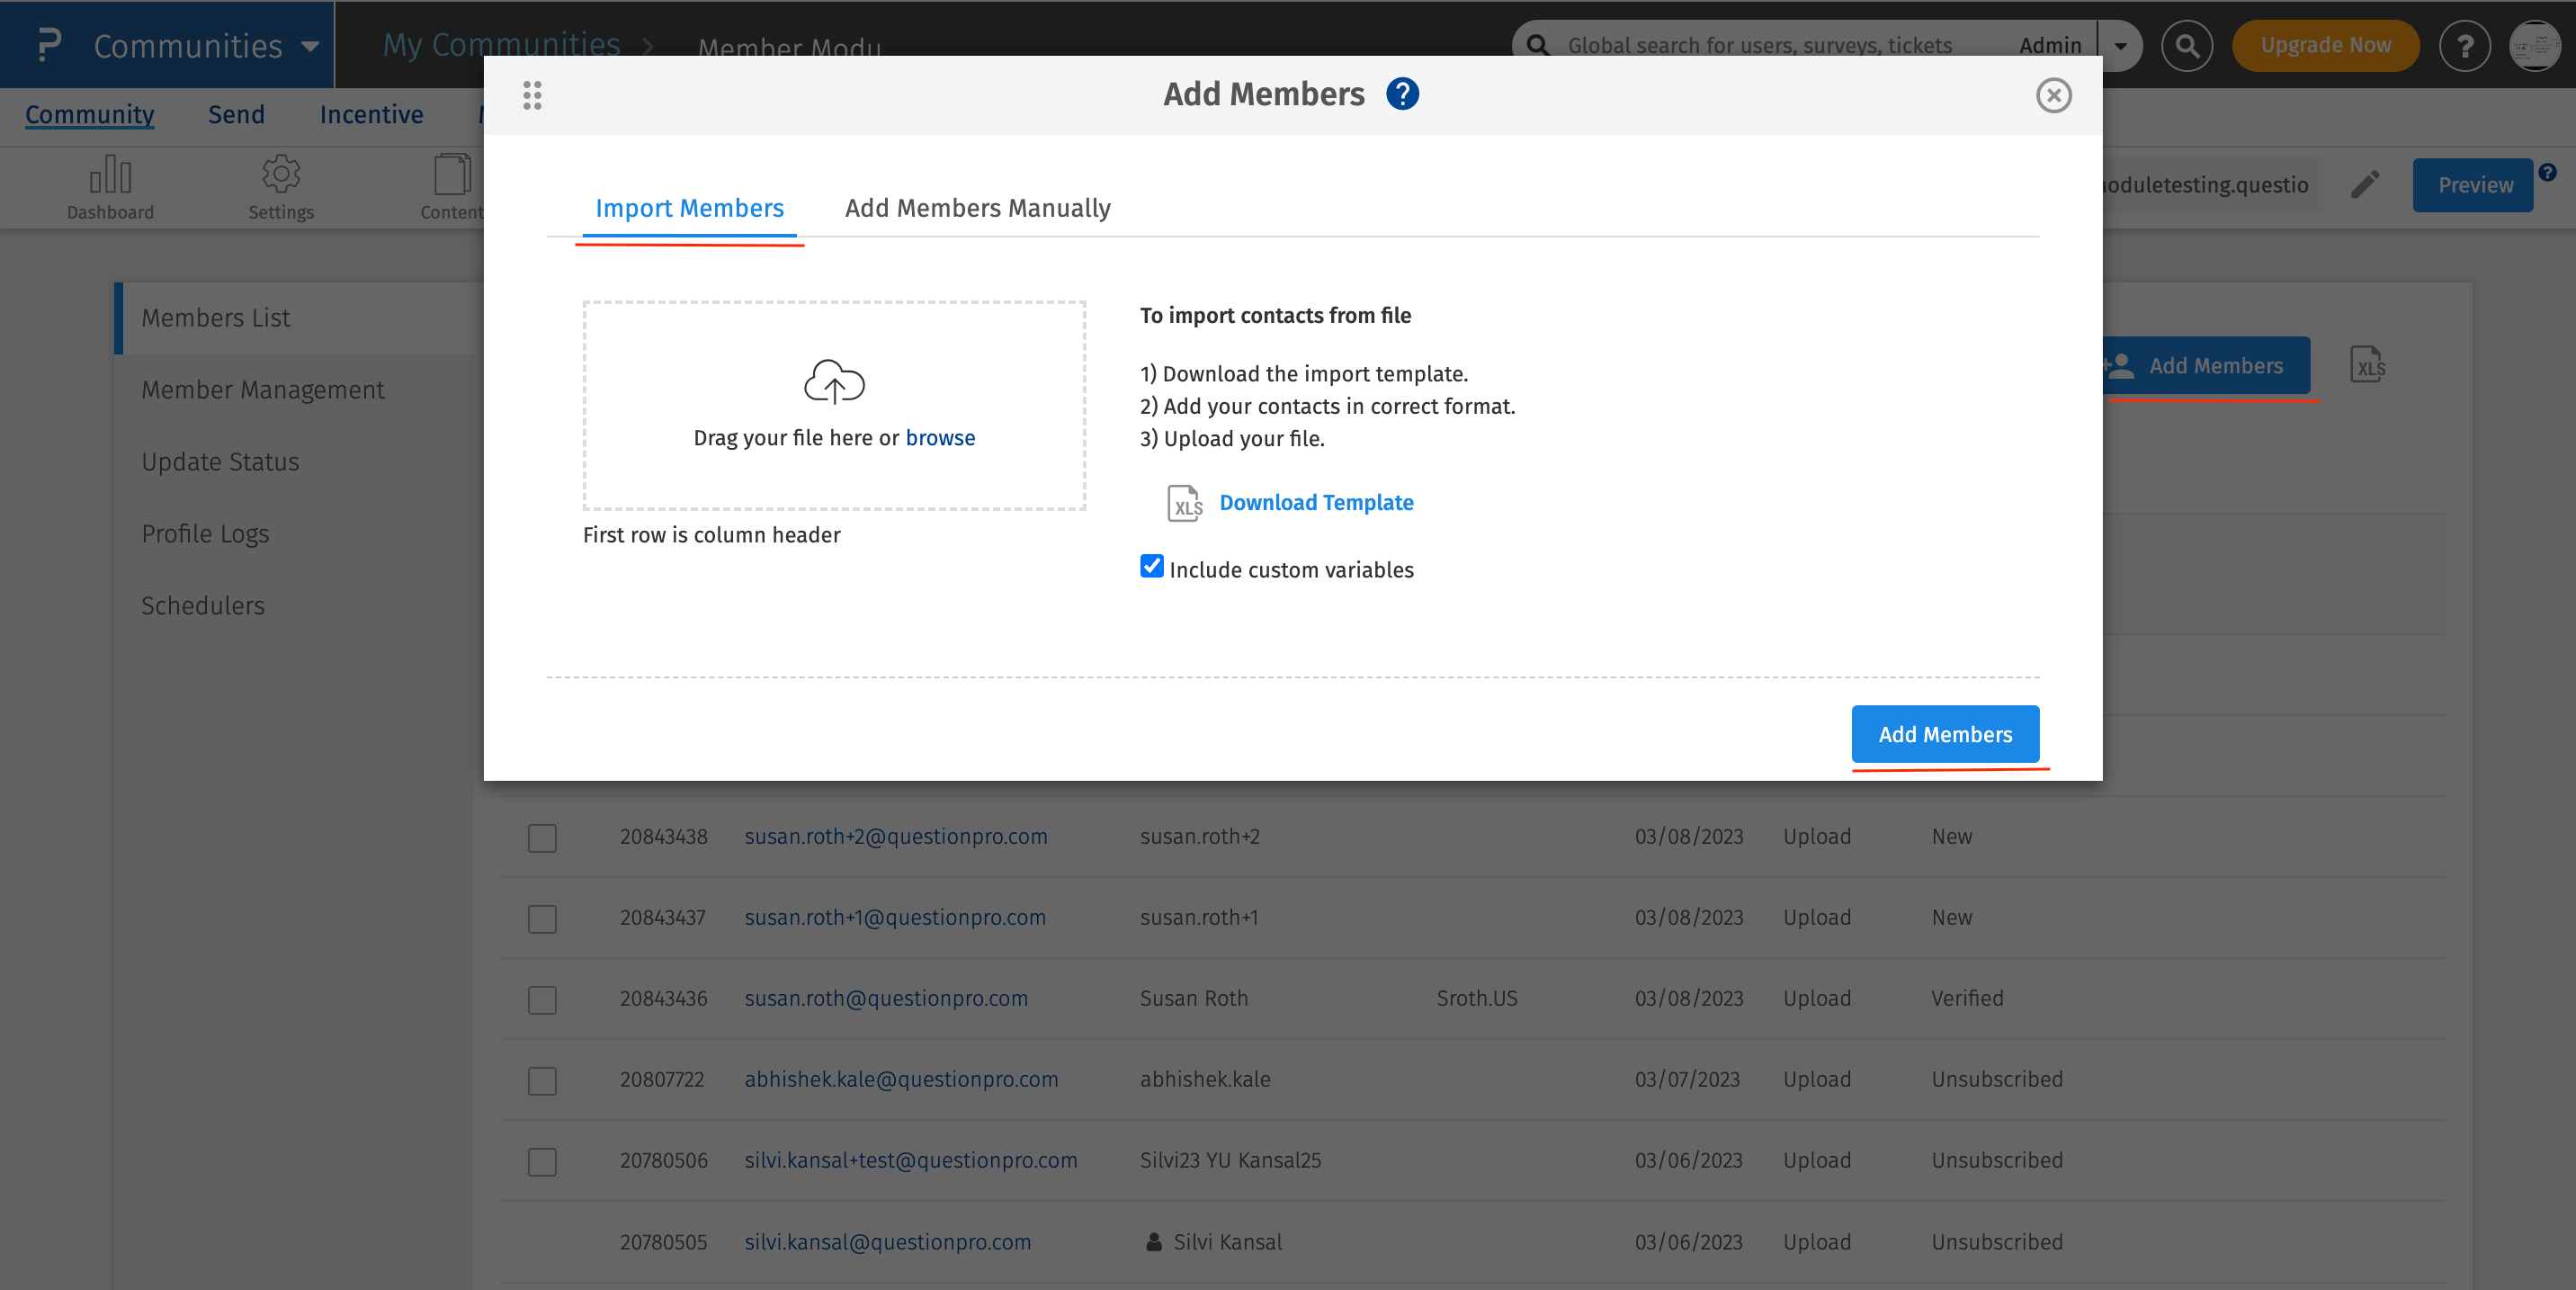
Click on the "Add Members" button. The pop-up displays 2 options. The user can select the must suitable way of adding the members per their needs.
- Option 1 - Import Members: Click on Download Template link. A template will be downloaded, in the same template, add the members details without making any adjustments to row 1. Once added all the details, save the excel file and then click on Add Members button. The members will be added to the portal which were present on the excel file.
- Option 2 - Add Members Manually: In this option, you can select the source and then in the space provided below, start adding the email addresses manually. It iss required to enter the details of the members in the below format:
Email Address,First Name,Last Name,Password,Member Type(0=Web/Standard, 1=Tester), Custom1,Custom2,Custom3,Custom4,Custom5, Custom Field 1,Custom Field 2,etc.
Once done, click on Add Members button.


You can post the URL for the panel on your web site or page or blog. You can also directly post the panel on Facebook, Twitter and other social networking sites. Users can join in from the panel portal.
The basic search that can be carried out by the user is the Search by Email Address. You can enter any word that is the part of email address and the results will be displayed accordingly.
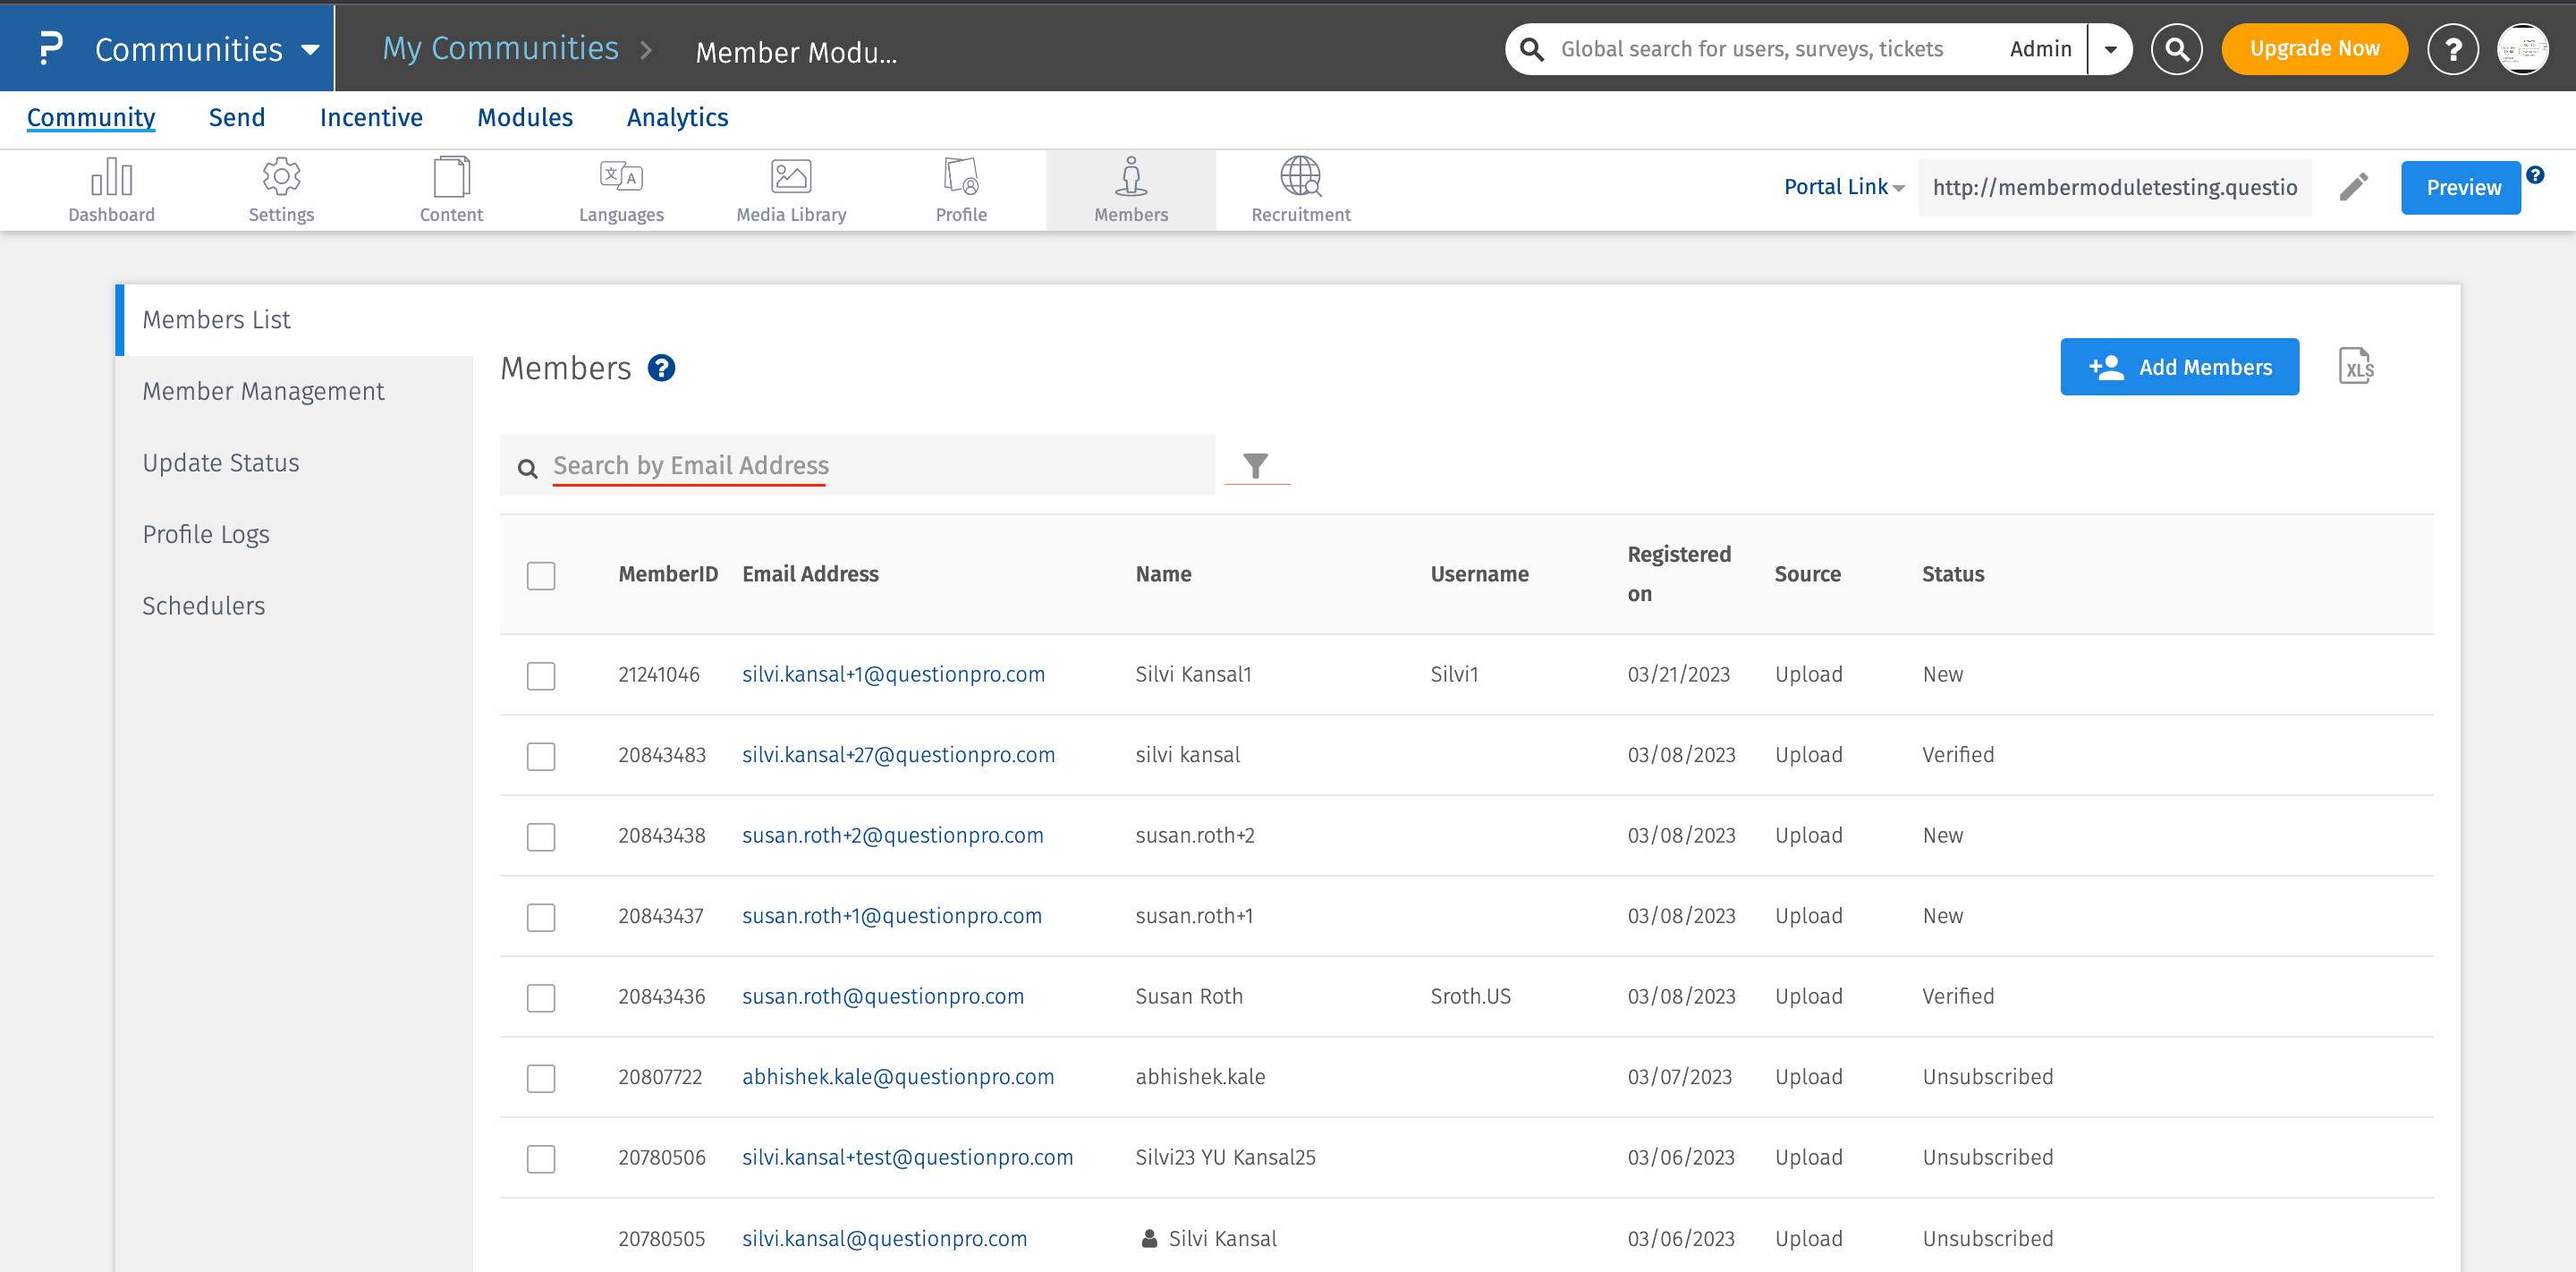
In order to have advanced search, Click on the Funnel Icon. You can now add any filter as per the requirement and the results will be based on the filters applied.
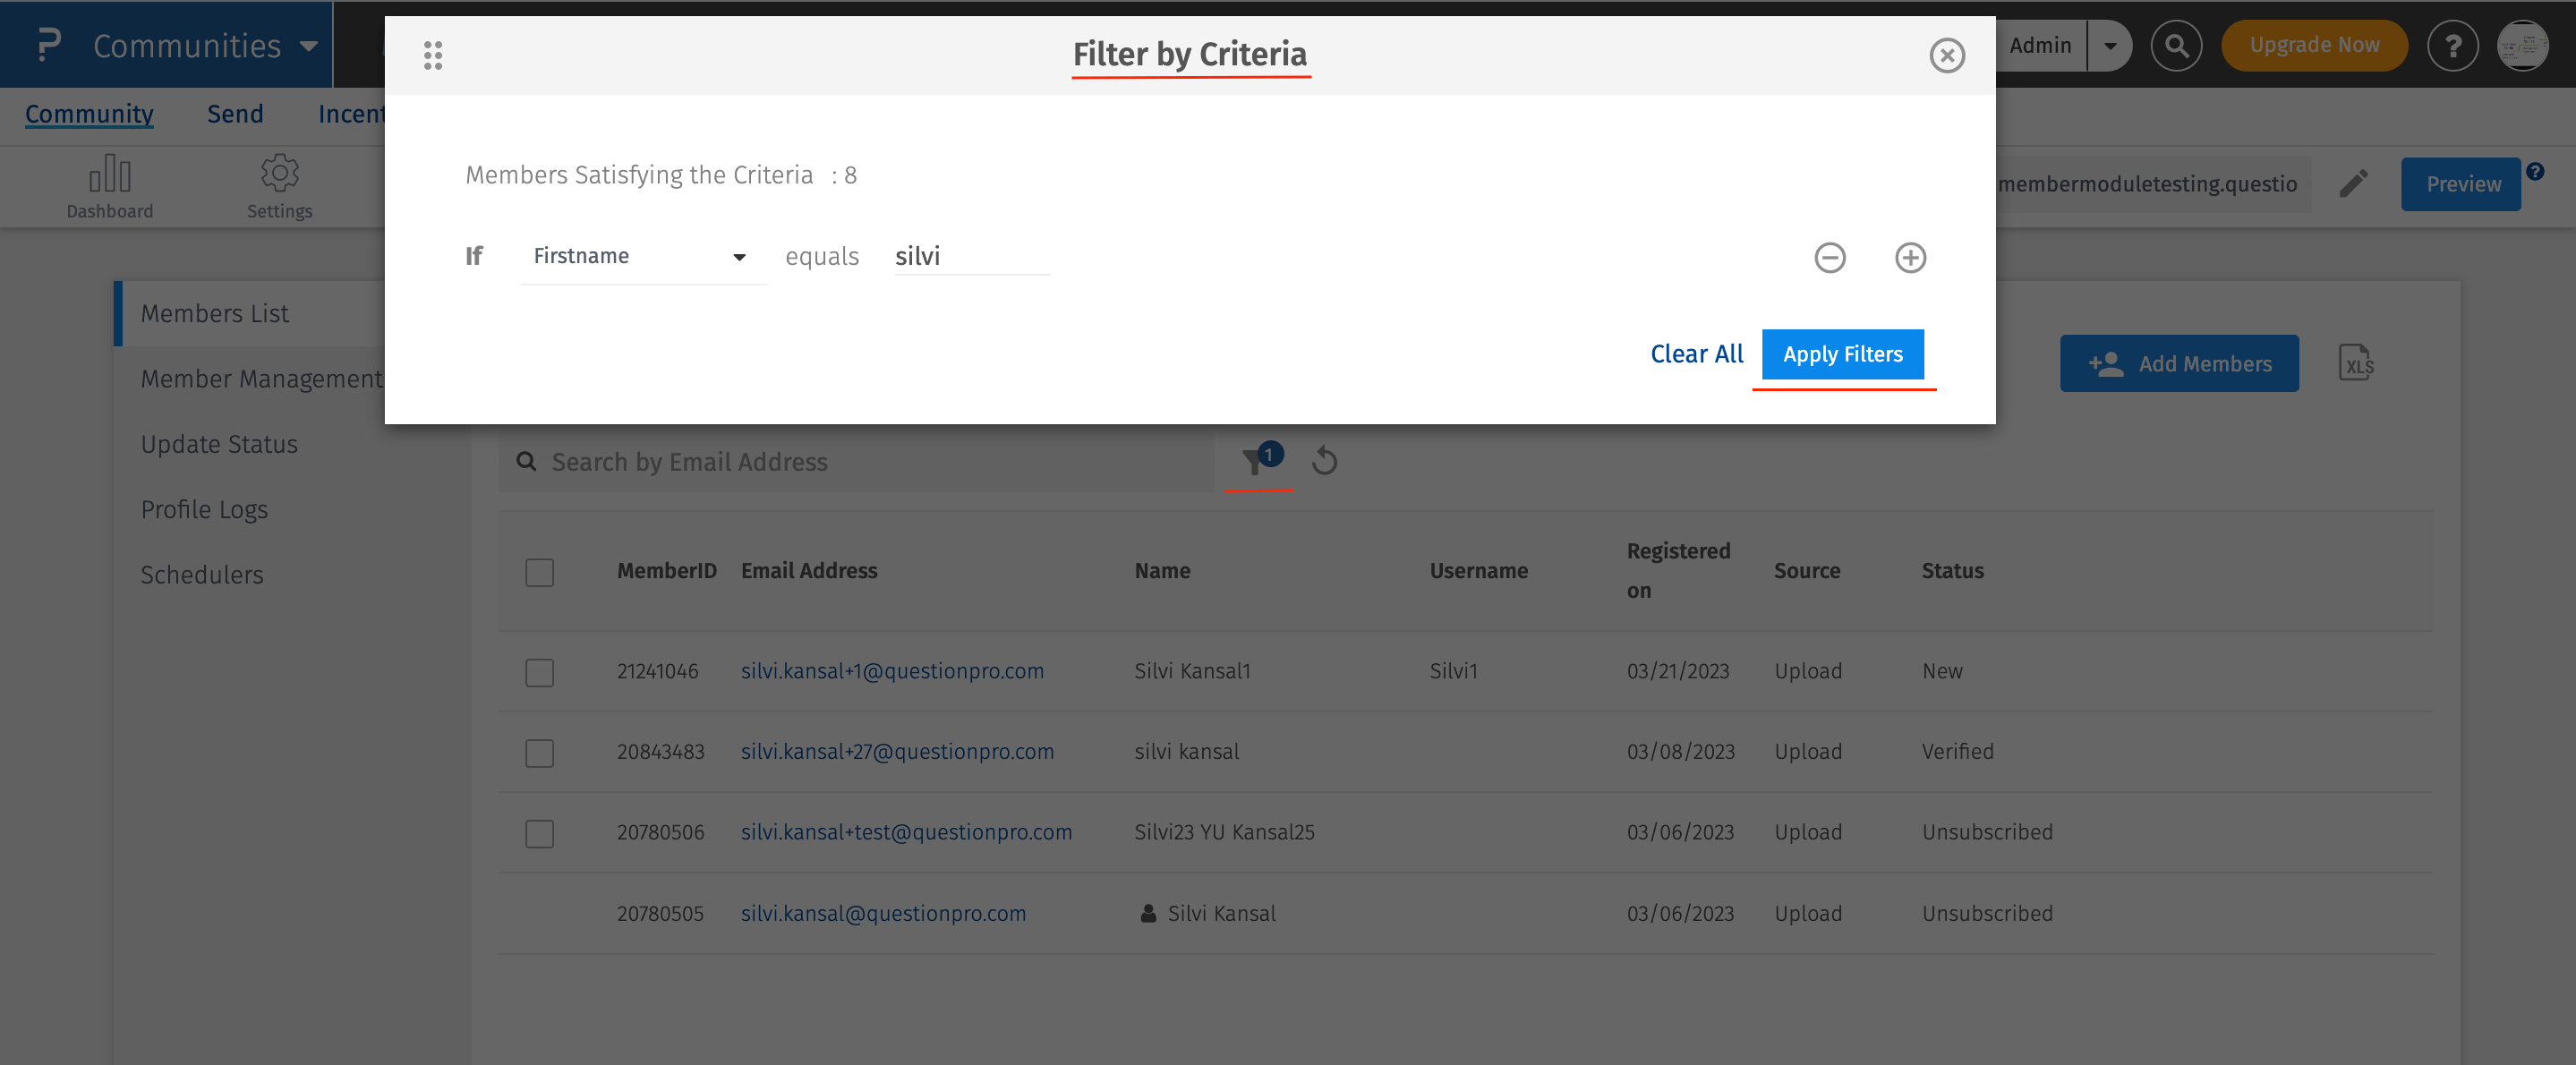
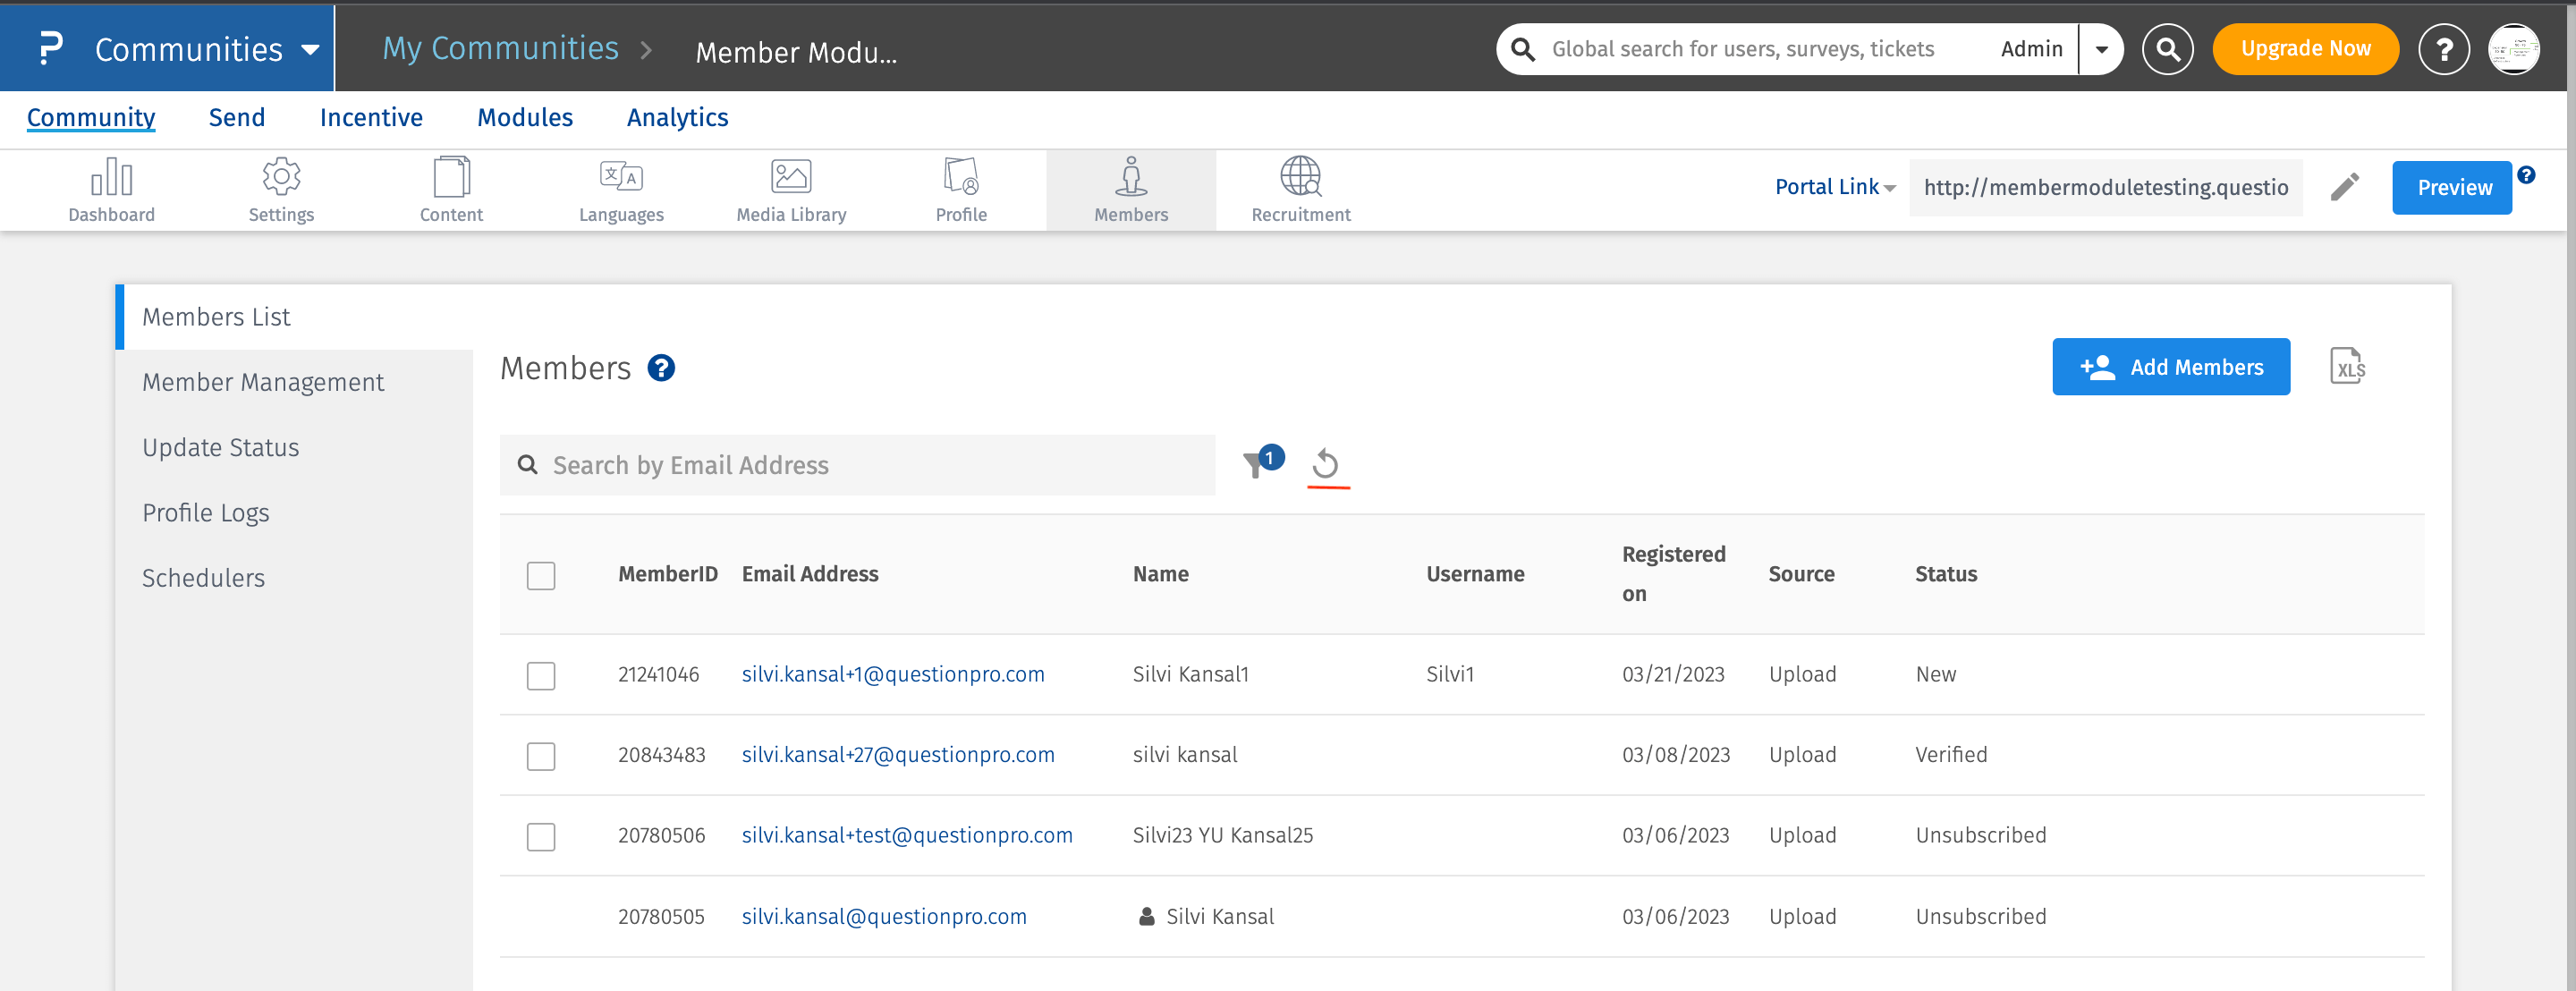
When the user choses to use advanced filter, the number of filters applied will be displayed on the funnel. So, in order to reset all the filters applied at once, the user needs to click on the reset icon. All the filters applied will be set to null.
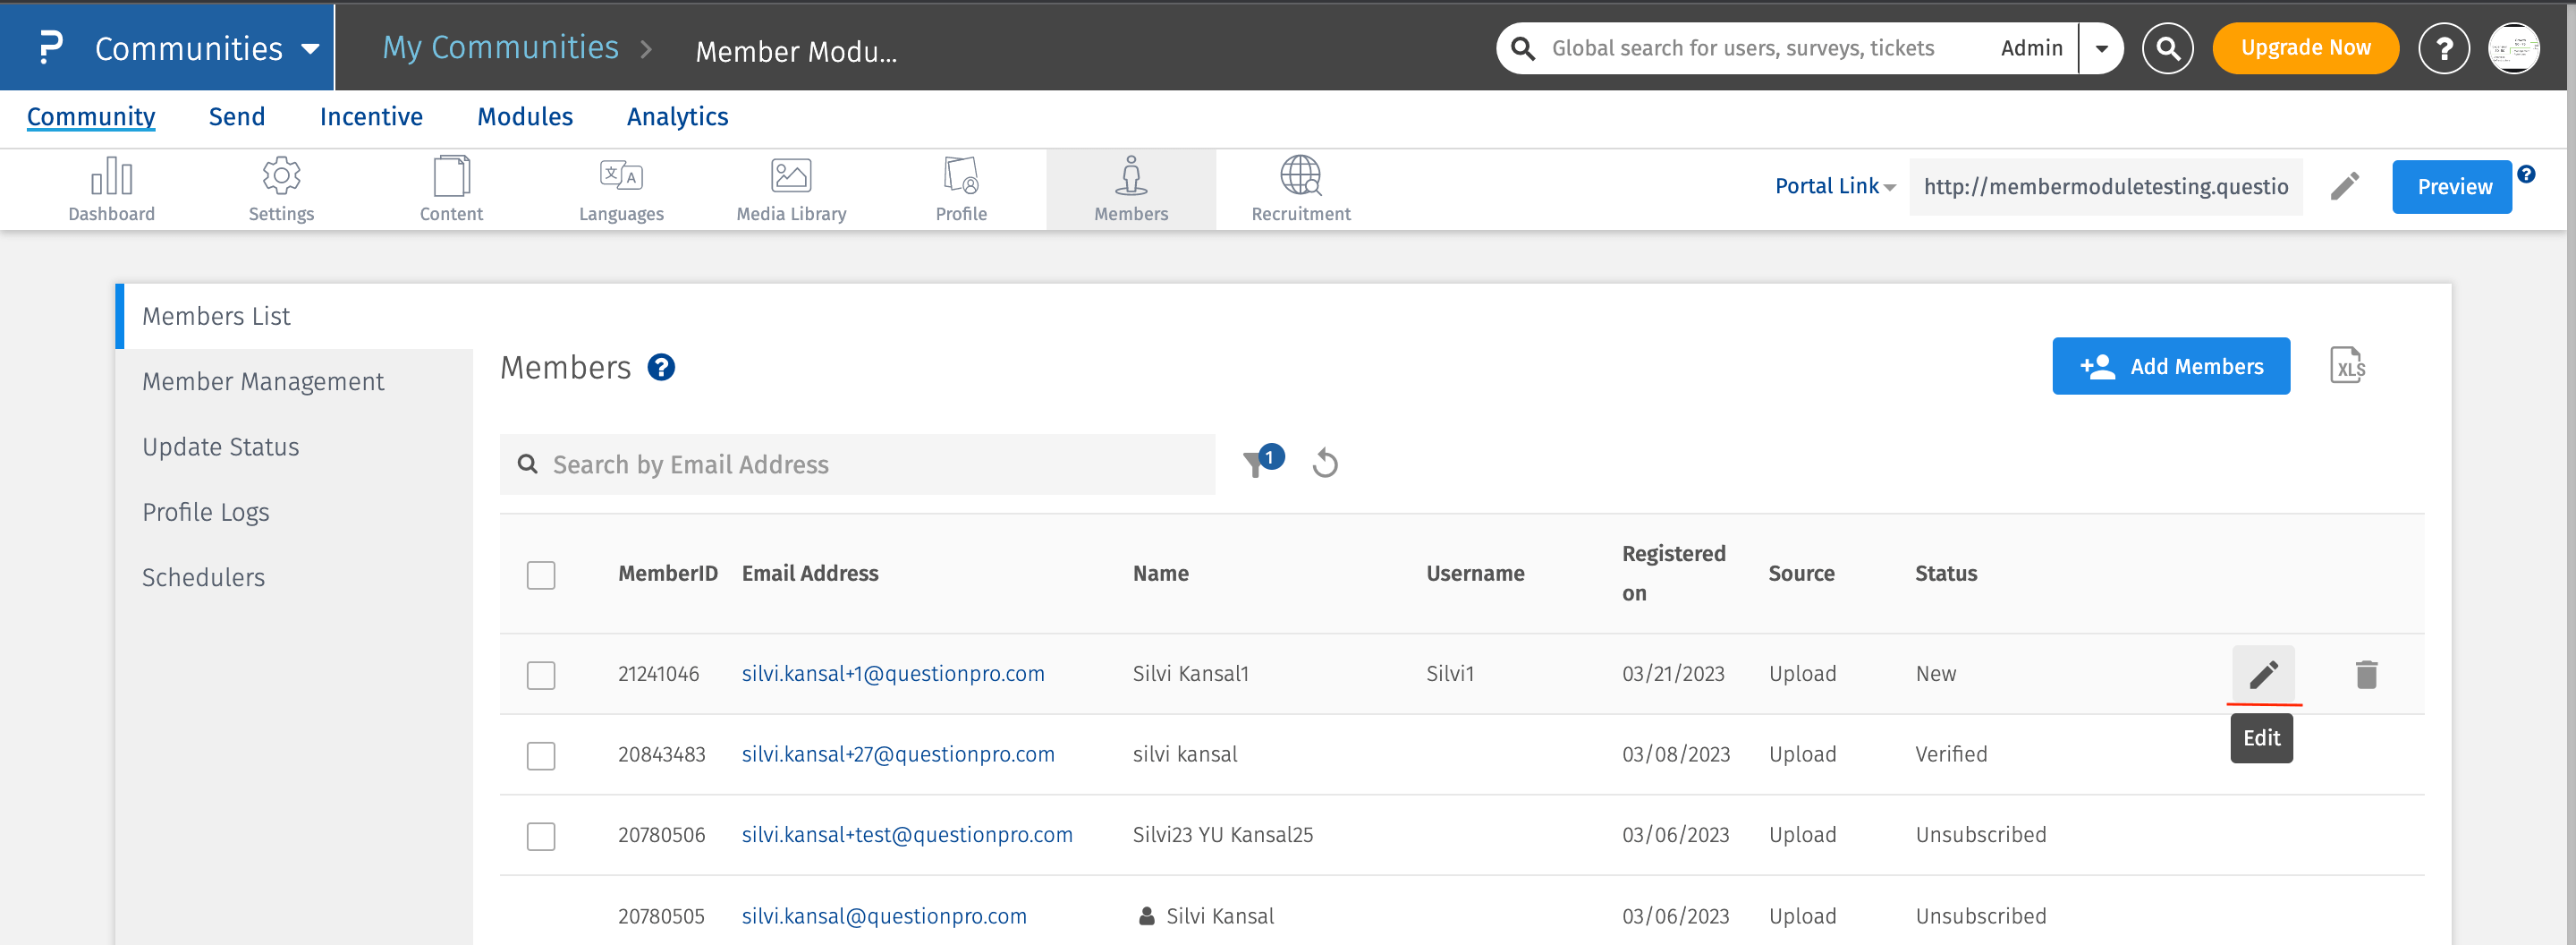
In order to edit the user's details, hover on the row, you will see a pencil icon. Click on the icon and then you can edit the details.
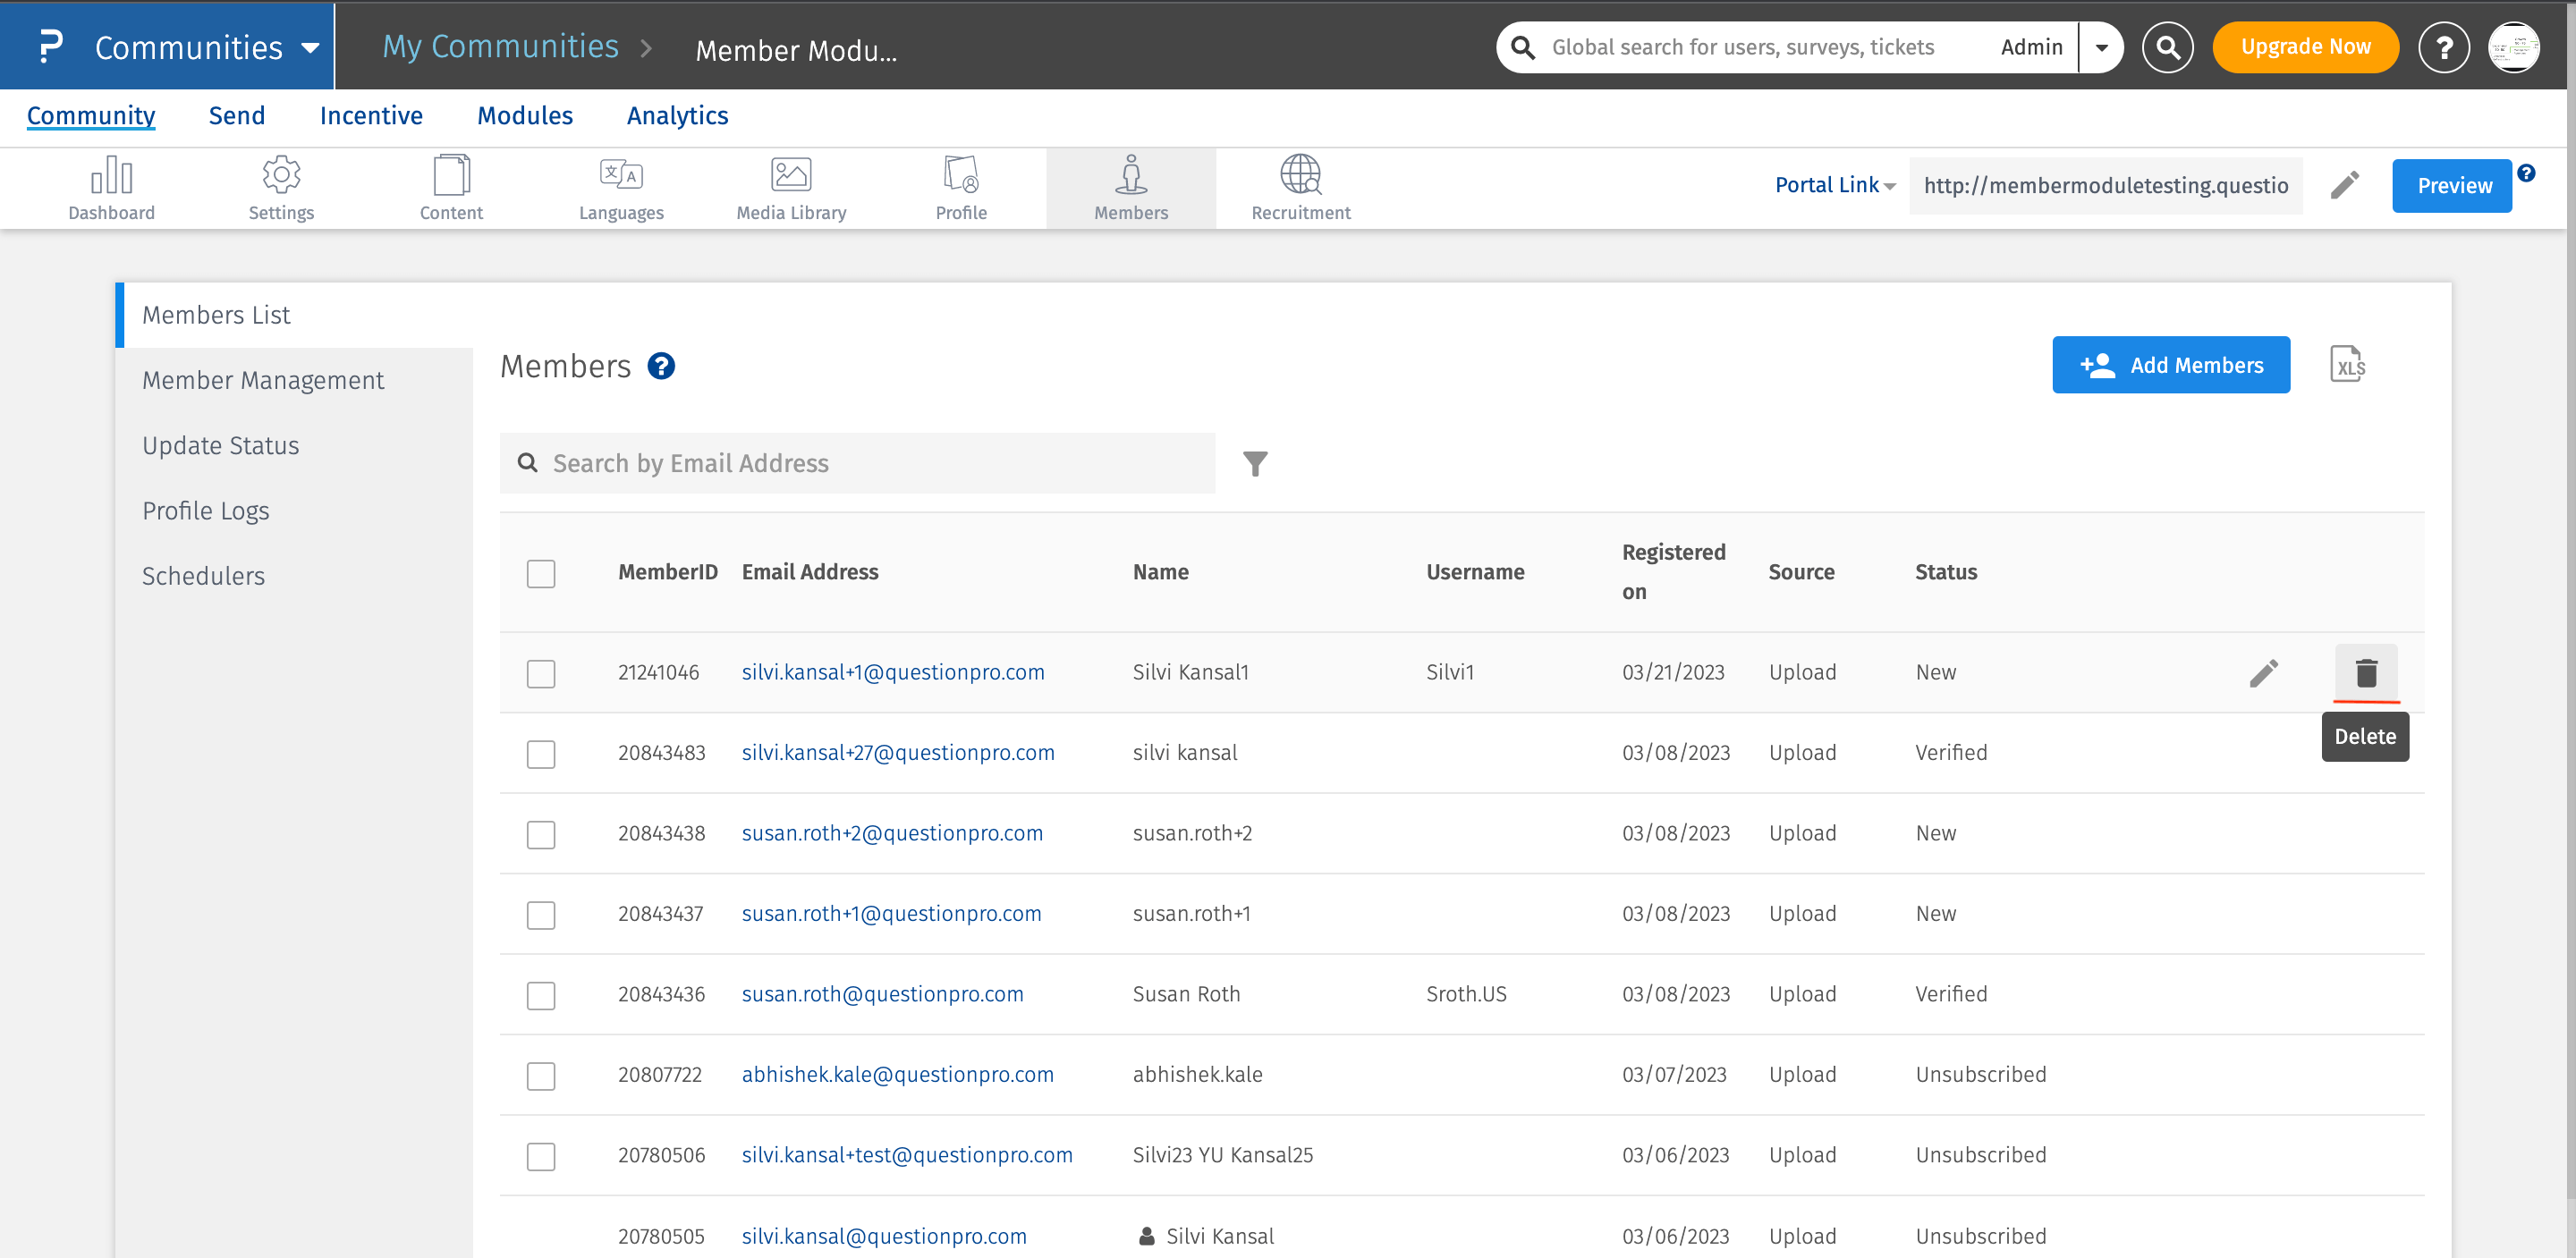
Yes, you can delete any user. There are different ways by which a user can be deleted.
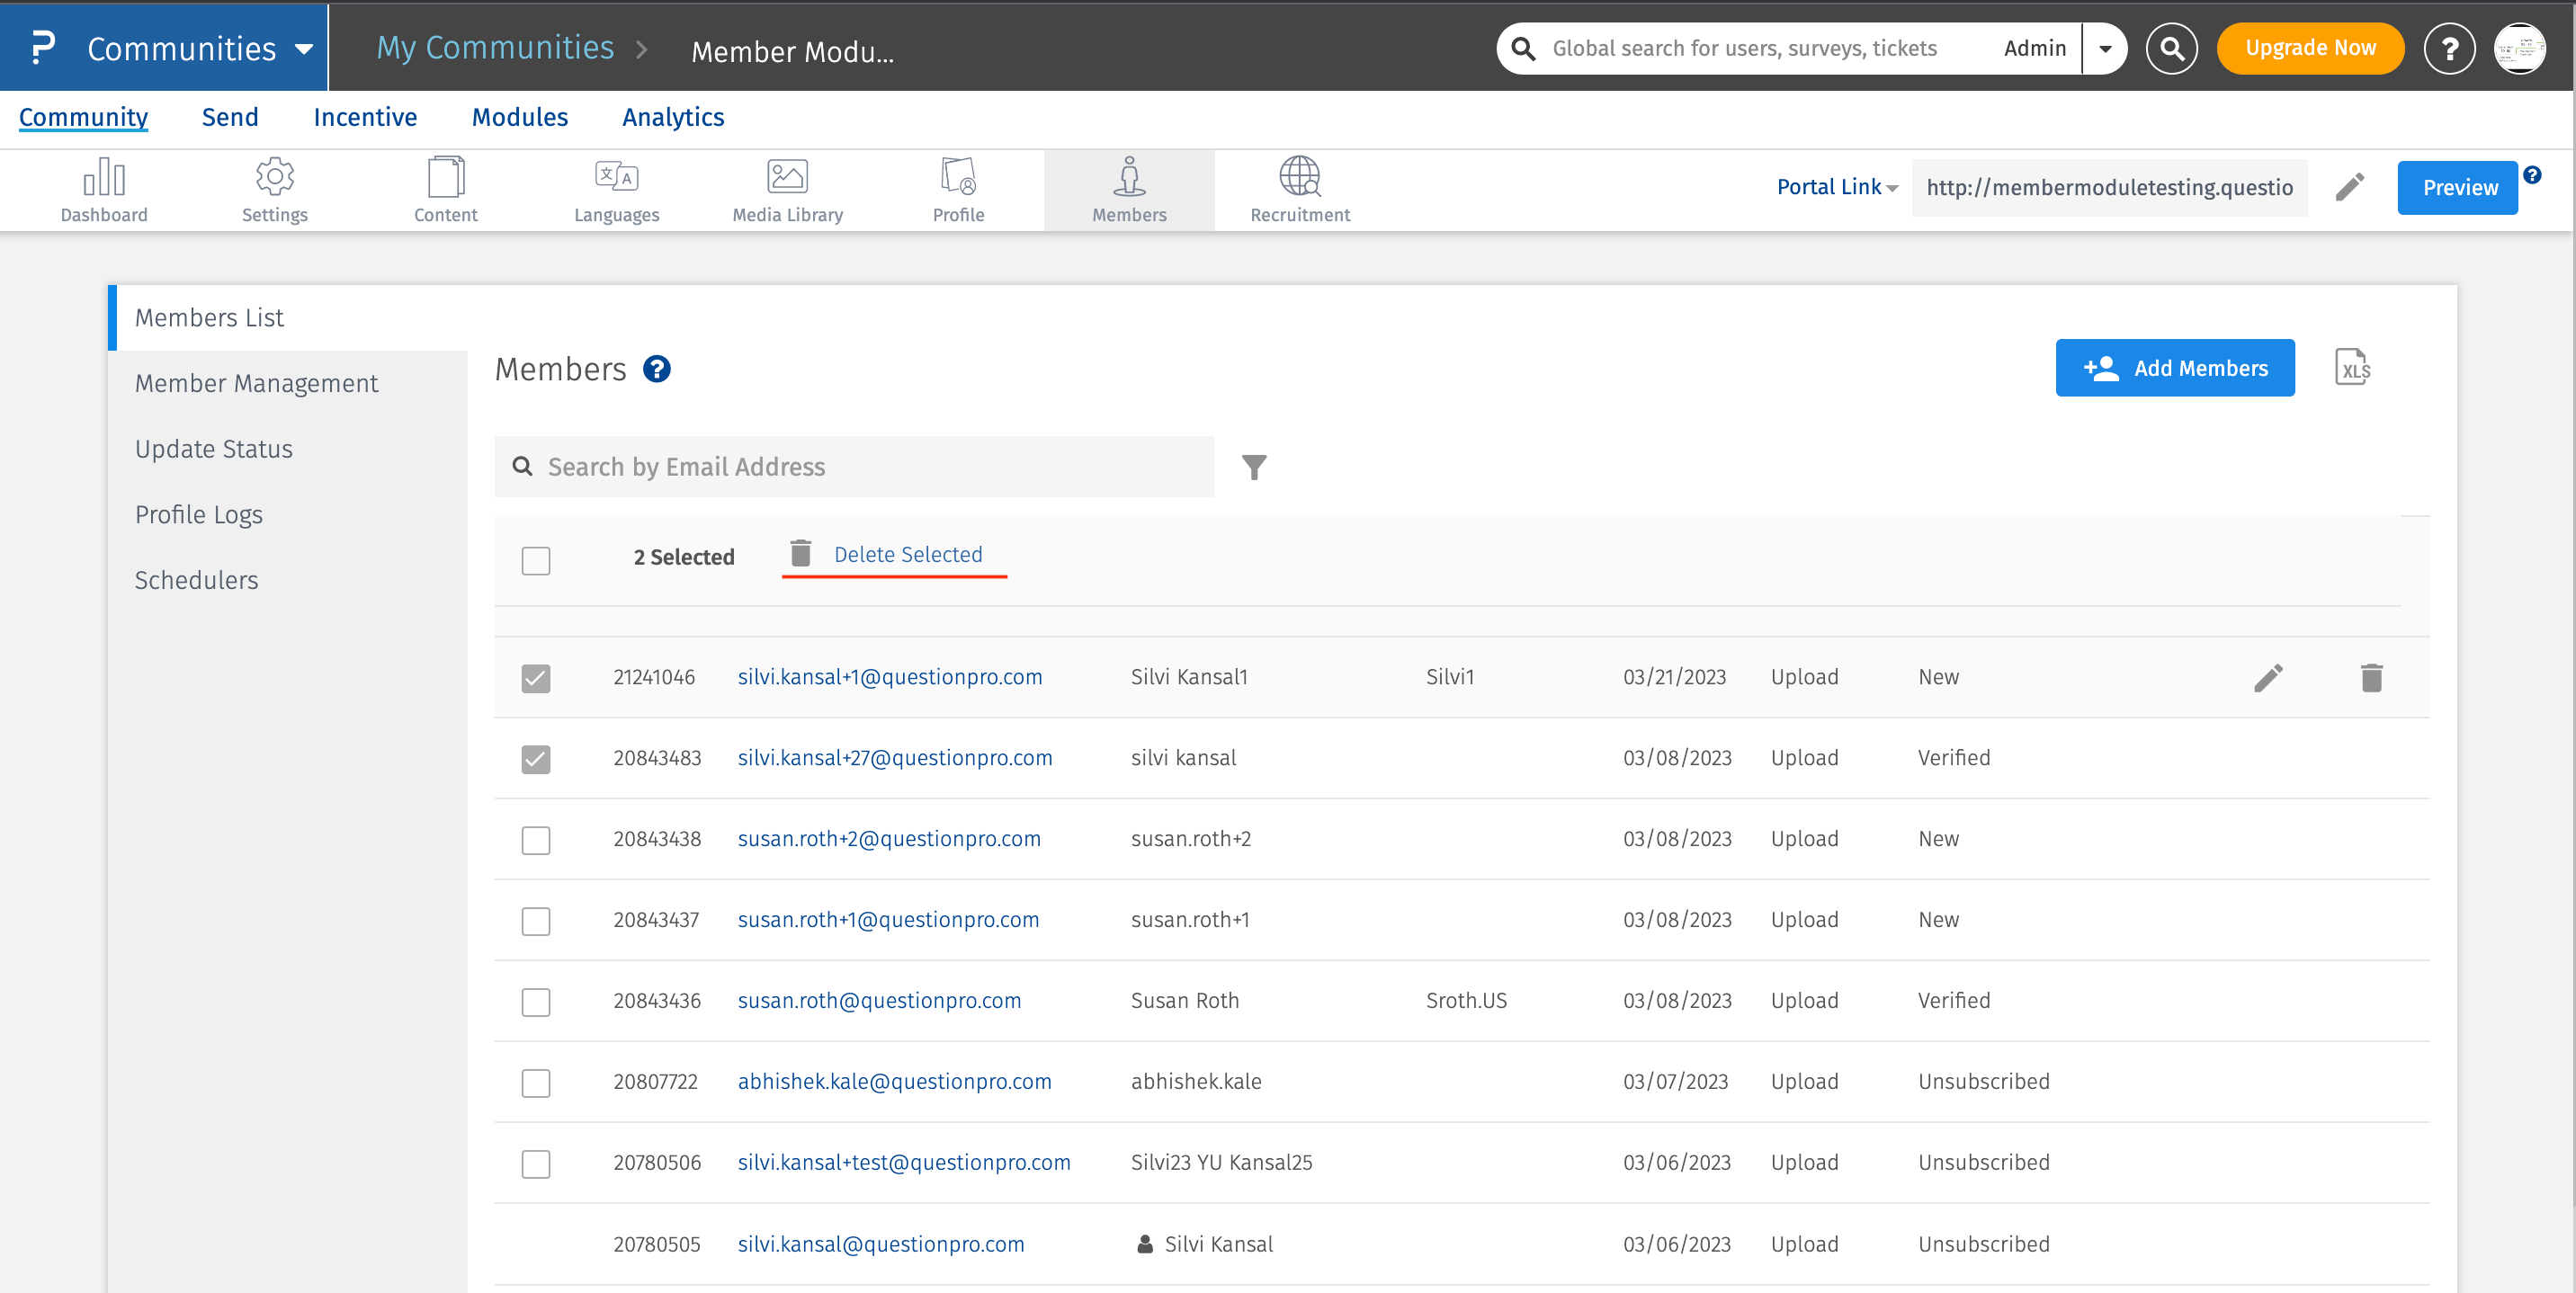
- Hover over the row, click on the bin icon. Once done, a confirmation pop-up will open. Click on "Yes" and delete the user.
- The other way is, clicking on the checkbox present on the left-hand side of the row. Click on the checkbox and then choose "Delete Selected". Confirm the pop-up by clicking on Yes and the user will be deleted.
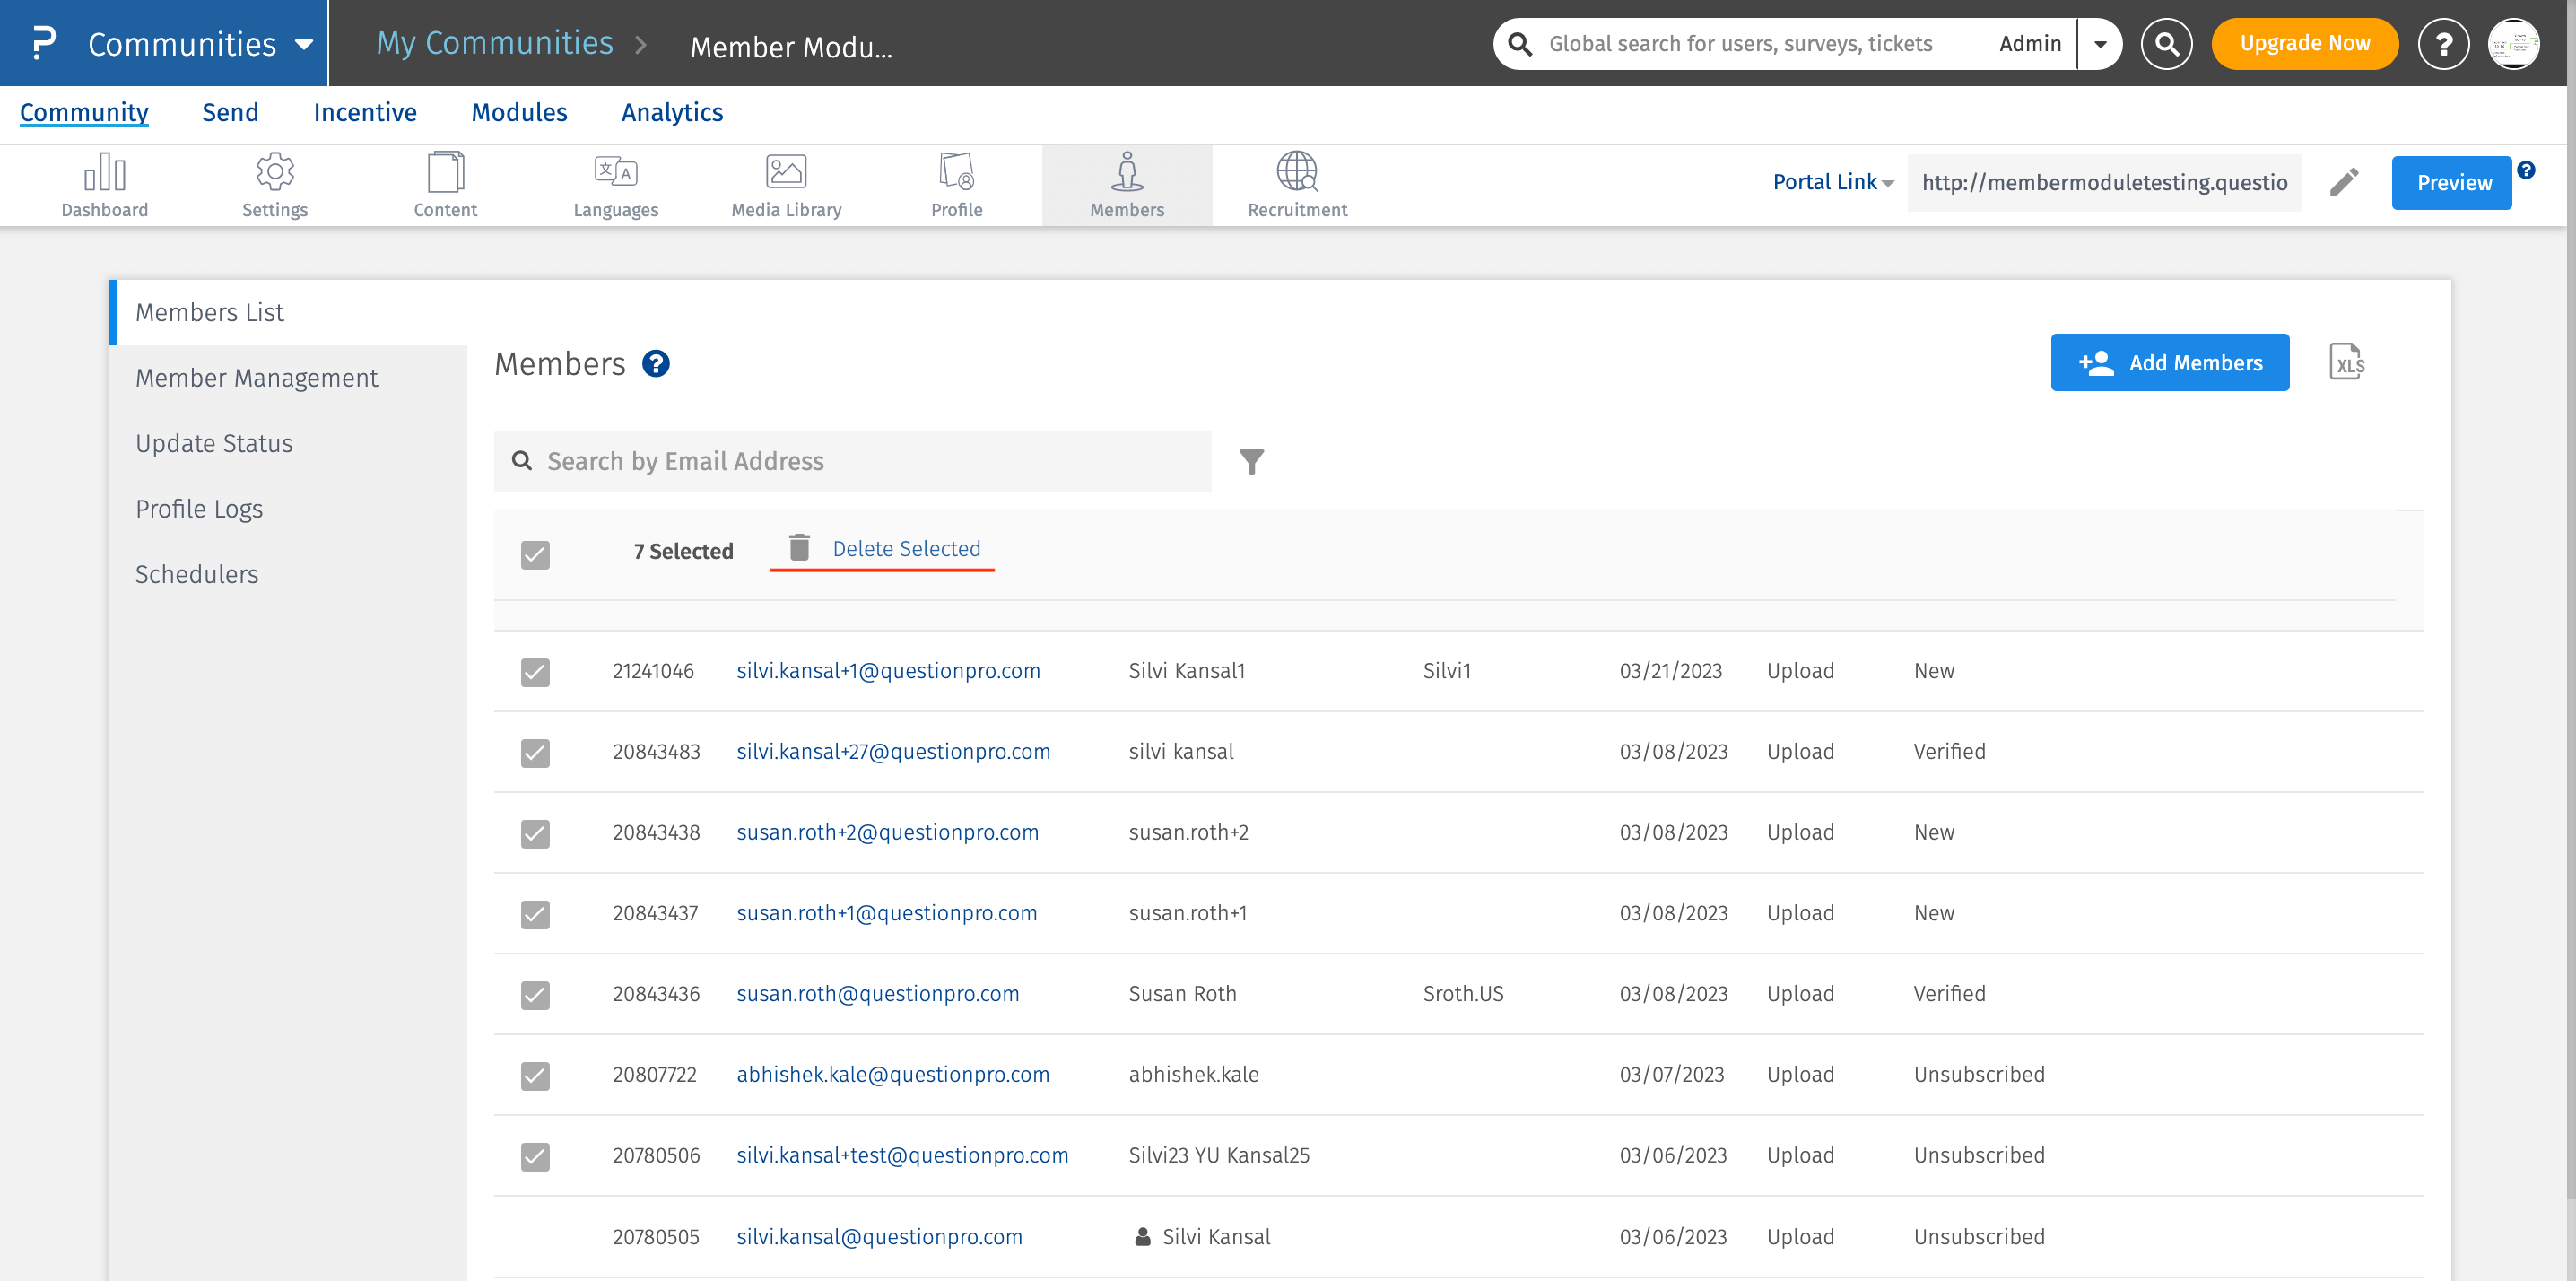
- In order to bulk delete the users, click on the checkbox present on the header. Once checkboxed, it will show the number of users that have been selected for deleting. Click on the "Delete Selected" option and confirm the pop-up by clicking on "Yes". All the selected users will be deleted.
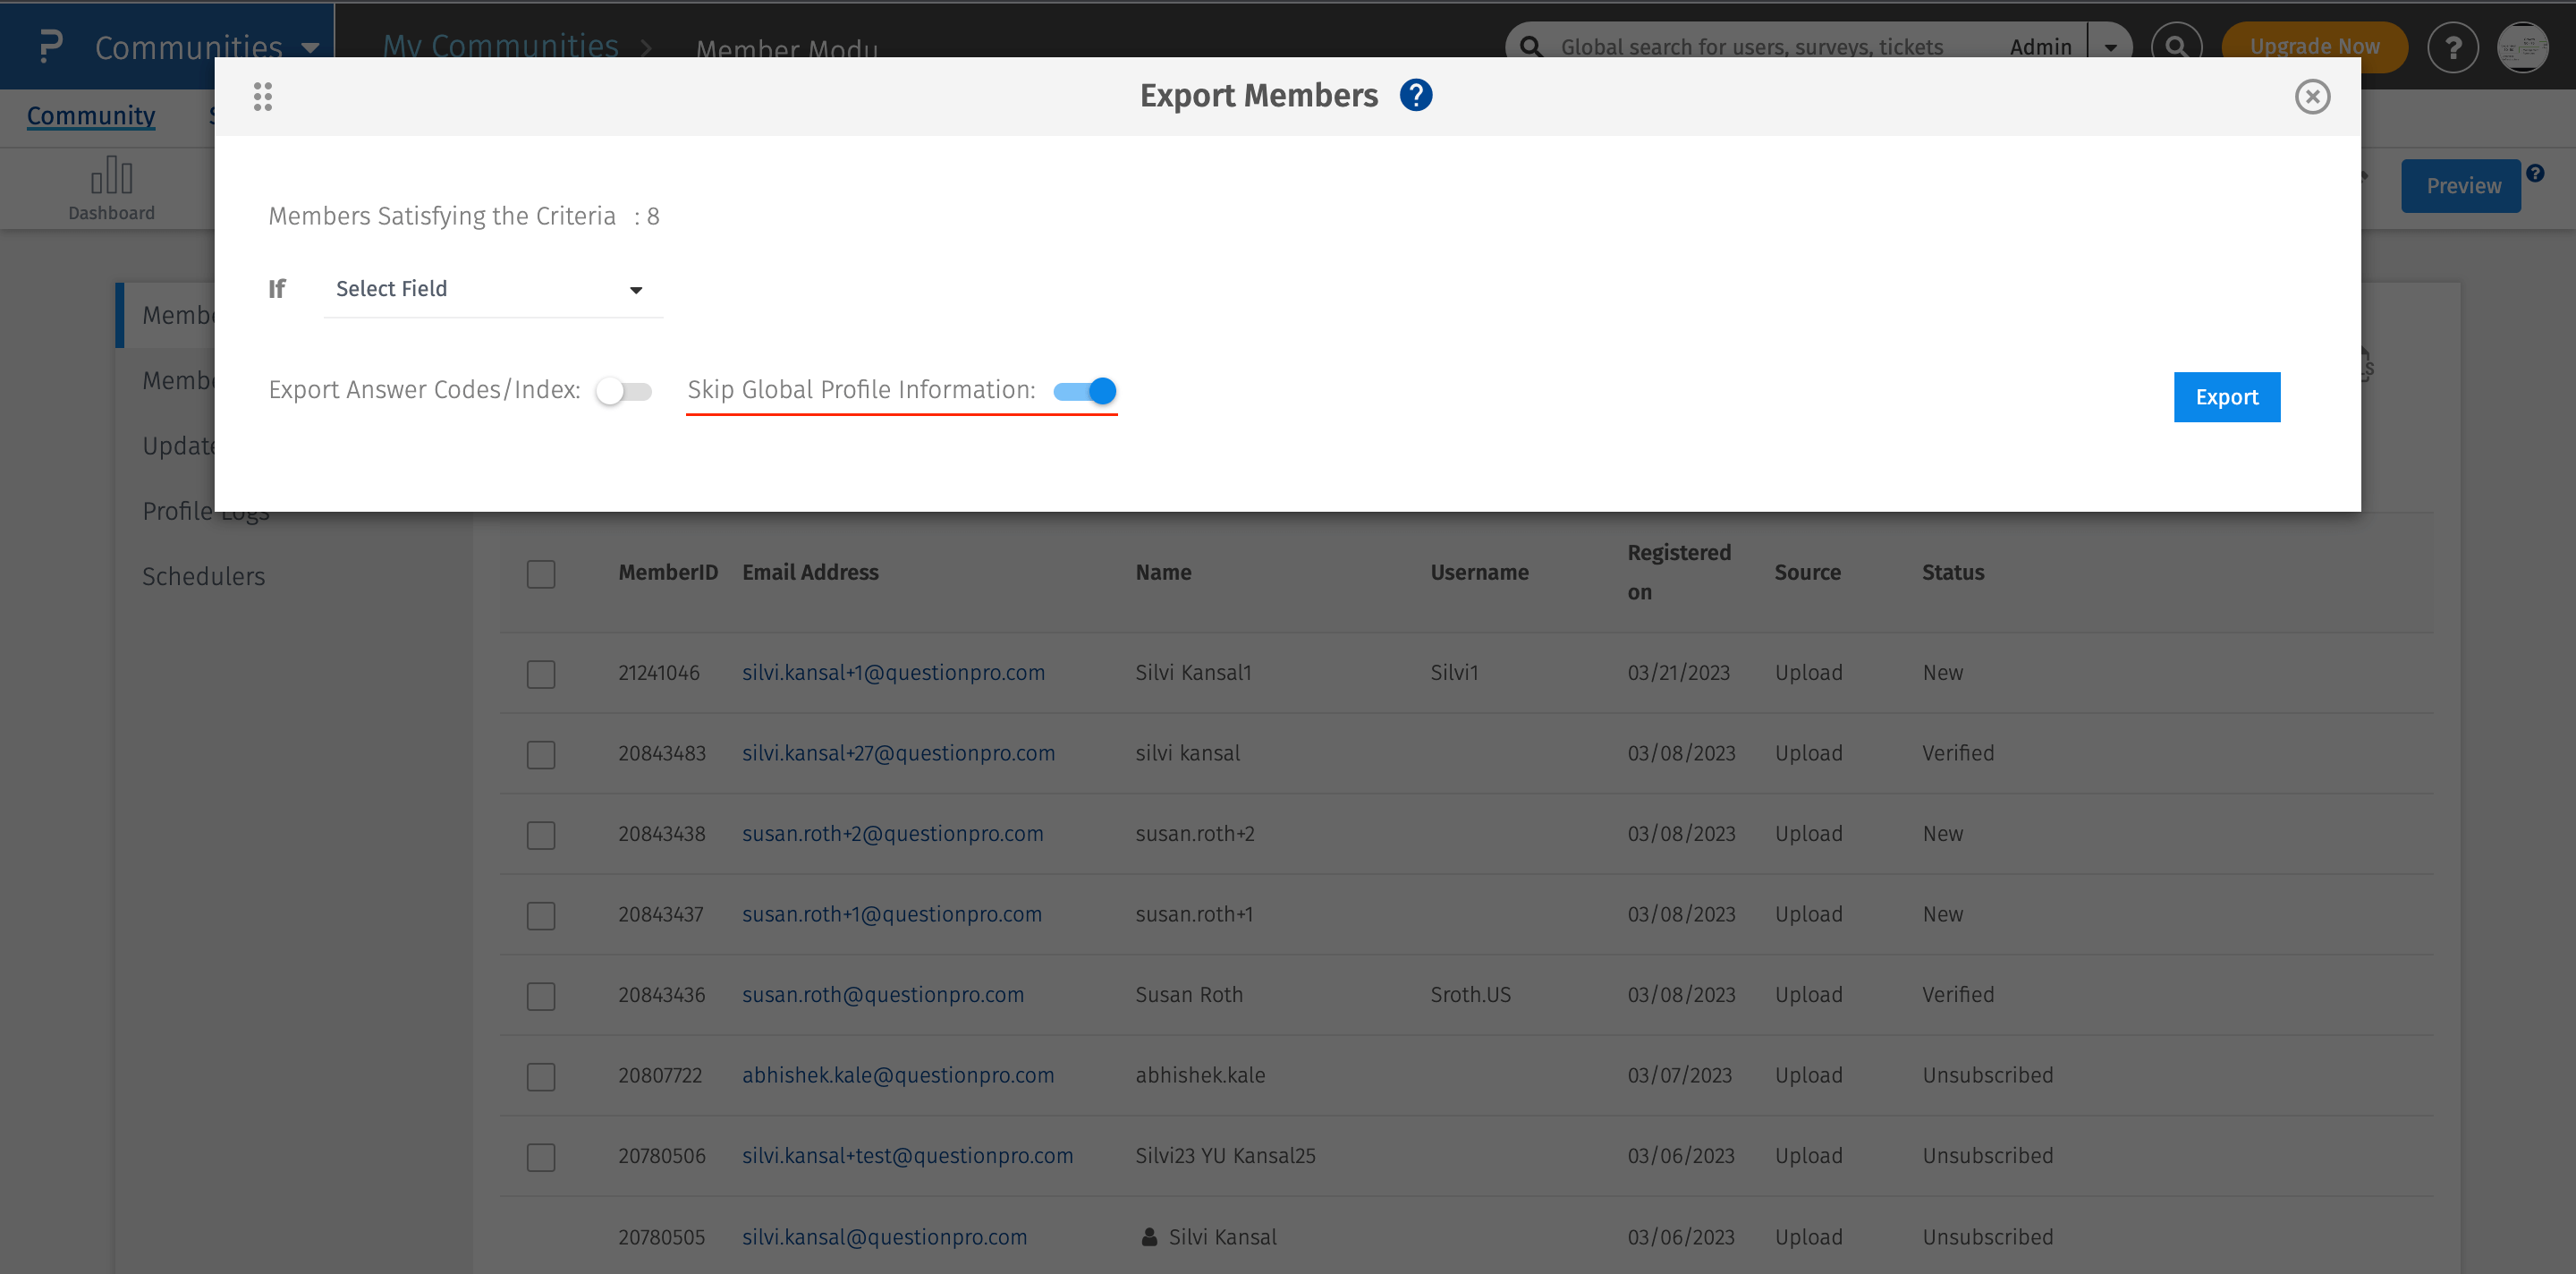
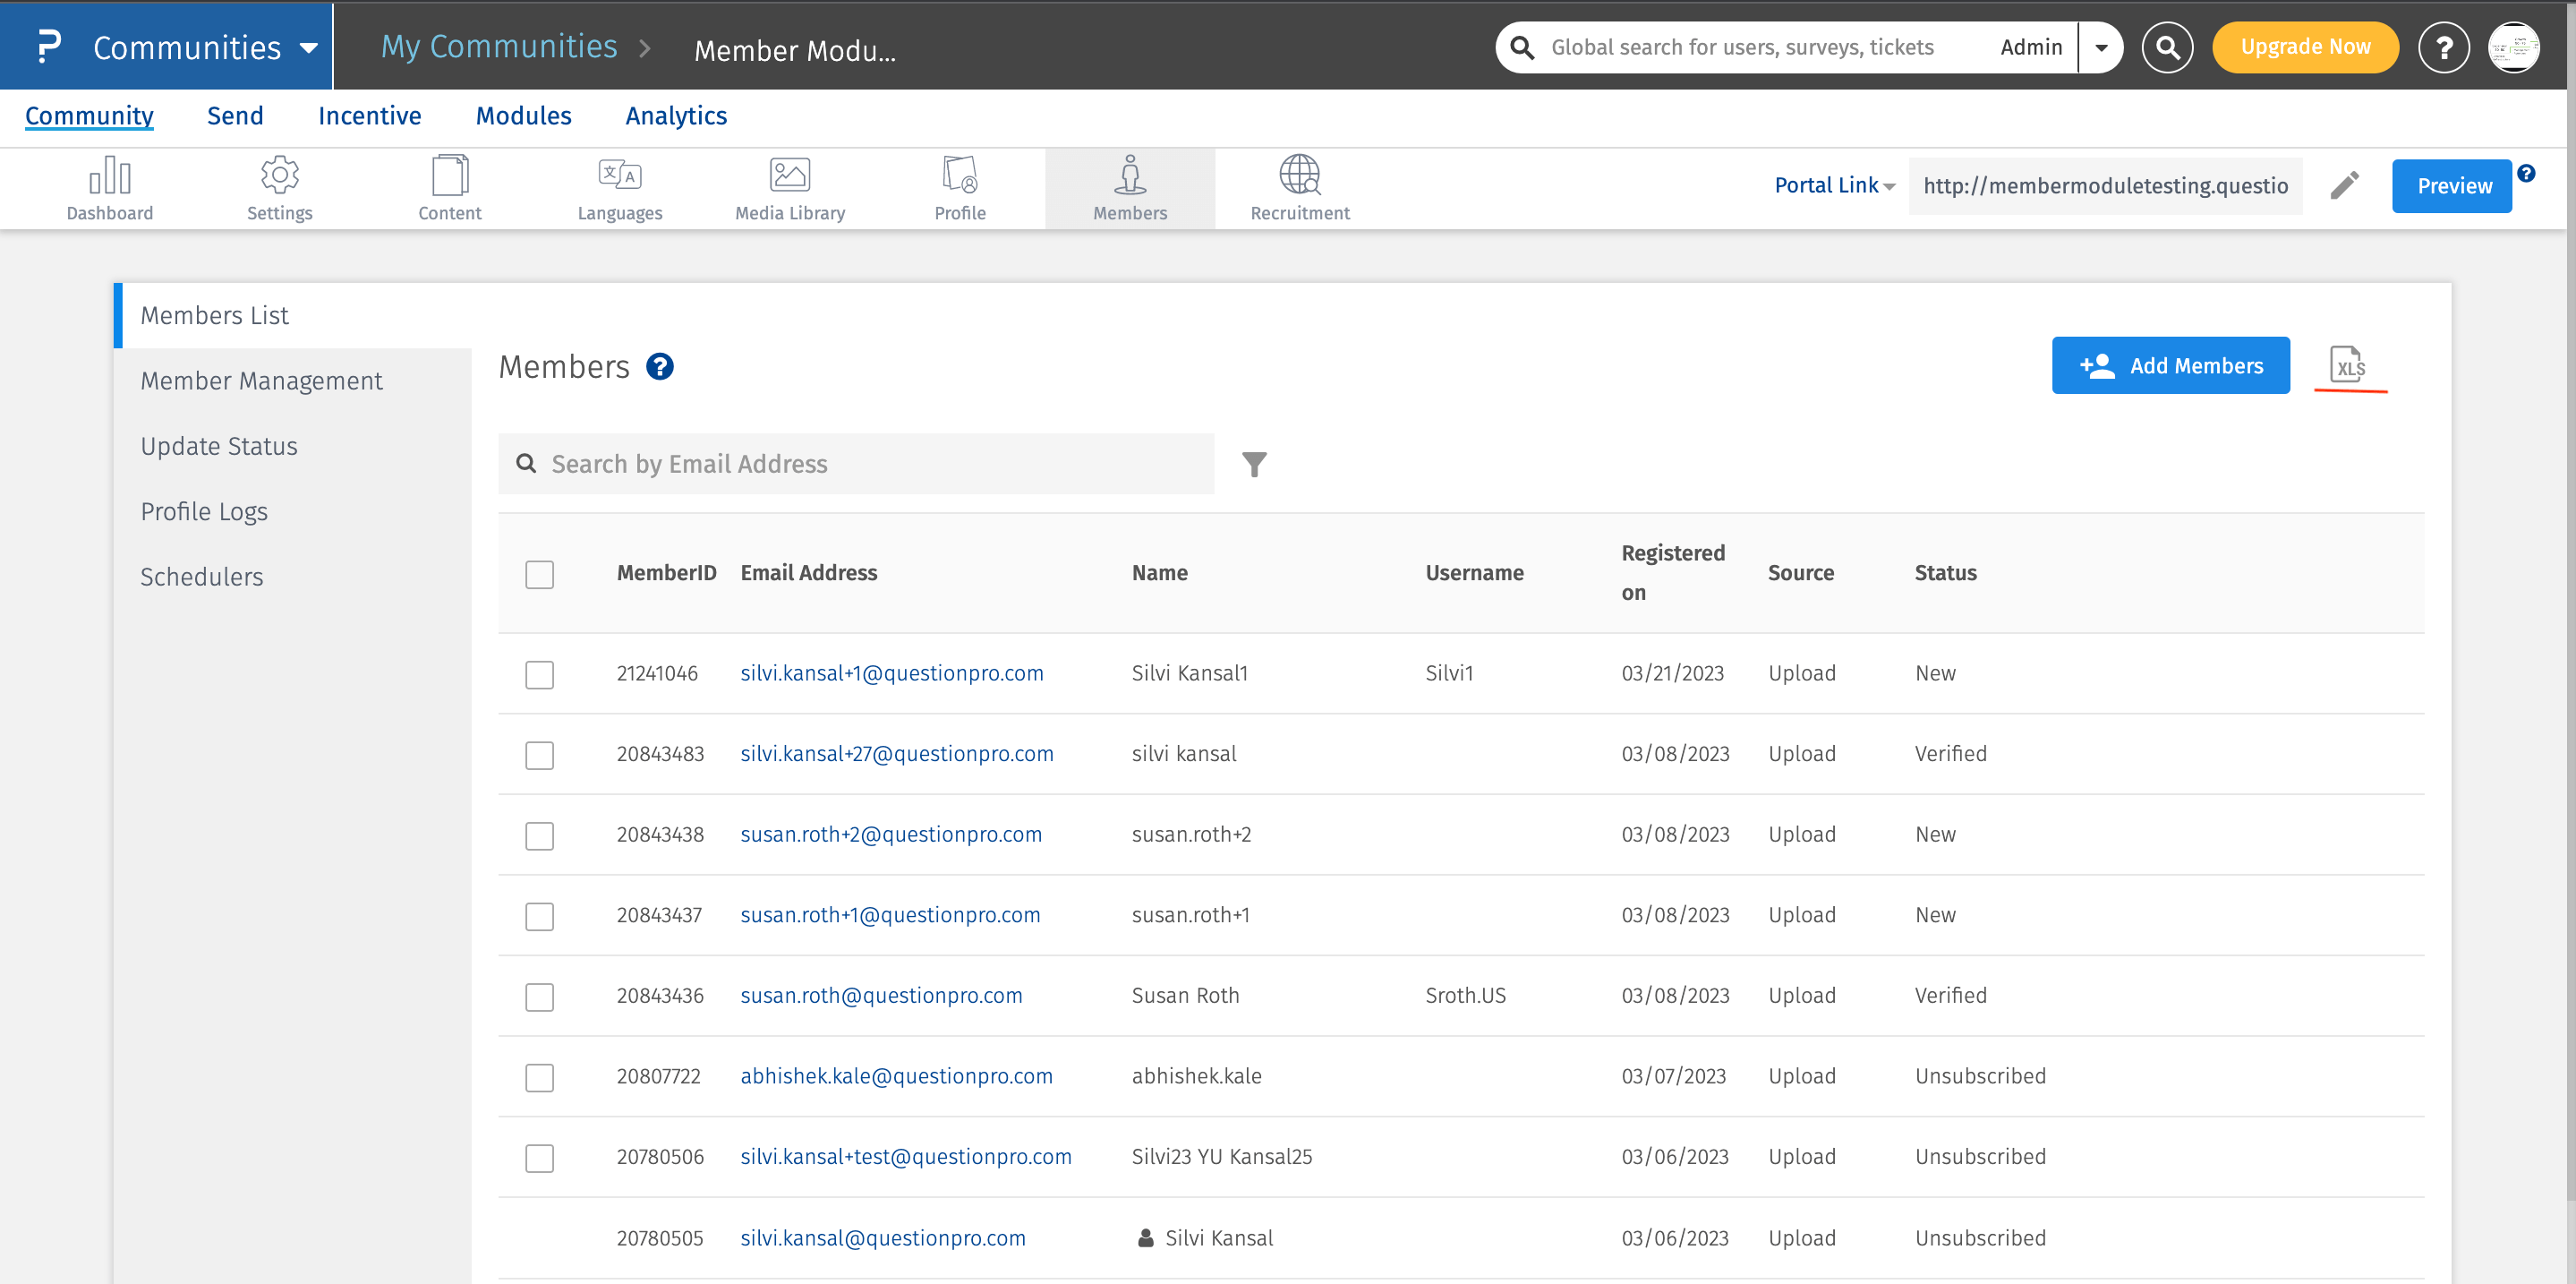
In order to export the data, click on the export icon (located on the right-hand side of the Add Members button).
Community members can also be exported using the filters like Profile,Invitations & Surveys,Sign-Up & Access and Custom Variables.
Yes - Please toggle on the functionality Export Answer Codes/Index when downloading the file.
Codes/Index values are available only for "Multiple Choice" type profile fields.Yes - Please toggle on the functionality Skip Global Profile Information when downloading the file.
